Showing posts with label Cream. Show all posts

Wednesday, March 9, 2011

No Bake Baileys Cheese Pie

Day 4 of St. Patty's/Irish Themed Cheesecake - a day late, but not an ounce of flavor short! 

So, I know a lot of you may not necessarily want to devote a solid hour - thirty (not including chilling time) to make a cheesecake.  That being said, I thought I would offer up something a little easier (and less time consuming).   The cheese pie whips together in about 8 minutes, and just needs an hour or two to set up enough for total enjoyment!  I opted for a graham crust, but a chocolate crust would be great with this recipe, too.  I also used Original Baileys, but caramel or mint would be just as delicious.  Keep in mind, though, that the alcohol in the Baileys will not be cooked out, so your cheese pie will be a little tipsy! 

No Bake Baileys Cheese Pie
Yields 8 servings

Ingredients 

8 ounces softened cream cheese
1/2 cup heavy whipping cream
1/2 cup Baileys Irish Cream
1 cup sugar
1 tsp vanilla extract
1 graham cracker crust


To Prepare the Cheese Pie
1. Blend together the cream cheese and heavy whipping cream until they are incorporated.
2. Add in the Baileys, sugar, and vanilla.
3. Blend them until the mixture is smooth and creamy.
4. Pour into the crust, and refrigerate for approximately 2 hours, or until firm enough to hold its form.

I used the left over heavy cream and whipped it with 1 tbsp sugar and 1 tsp vanilla, until it turned into whipped cream.  I then "iced" the entire cheese pie with the whipped cream!

Sunday, January 9, 2011

Chicken Marsala with Pappardelle

I'm baaaaaaack!  After a weekend filled with driving, friends, and food, I quickly found myself back in the kitchen.  It really has become my little nook in the house, except of course, when it is time to do the dishes!  I had intended to make a warm and simple dinner tonight, and was happy with the outcome. 

Earlier this week the squeals of joy could be heard throughout the neighborhood when my Rachel Ray subscription finally started and arrived in the mailbox!  I will admit that I am not a huge fan of Rach's shows, but I used to LOVE watching $40 a day when I was in college, and I love her magazine.  It is a fairly good mix of home, cooking, and travel. 

I found myself drooling and staring at the picture of her meat-free Mushroom-and-Marsala Pappardelle recipe.  Kudos to the food porn staff at her magazine, they won me over!  As I have mentioned over and over again, my sister refuses to eat mushrooms...ugh...problem.  I decided to twist the recipe around a little bit and accommodate her taste buds with chicken.  I think if I had served two vegetarian meals in a row, since tomorrow is Meatless Monday, my dad would be cringing in fear of another vegetarian week on the blog! 

So, with all of that being said, I have typed up Rachel's recipe below and added my notes in italics!  It was really delicious, filling, and there was plenty to go around...twice!  Be sure to read the recipe all the way through before cooking so you don't encounter any surprises along the way!


Mushroom and Marsala Pappardelle
Source: Every Day with Rachel Ray - February 2011
Yields 6 generous servings

Ingredients 
2 cups chicken or vegetable stock
A handful of dried mushrooms, such as procini
Salt and Pepper
1 pound of pappardelle or other wide, long-cut pasta
4 tablespoons butter
3/4 pound cremini or portobello mushrooms, thinly sliced
1 large fresh bay leaf
1 small bunch tuscan kale or swiss chard, stemmed and very thinly sliced
4 shallots, chopped
2 cloves garlic, finely chopped
Freshly grated nutmeg. to taste
About 3/4 cup marsala wine
1 cup heavy cream
Afew sprigs fresh sage, very thinly sliced
Grated parmigiano-reggiano cheese

Right off the bat I can tell you that I eliminated all of the mushrooms from above, as well as the parmigiano-reggiano and sage.  I also replaced the marsala with red cooking wine that I already had in the house!  You will also need approximately 1 pound of thinly sliced skinless, boneless chicken and a teaspoon of either flour or cornstarch.  

To Prepare

Place the stock and dried mushrooms in a saucepan and bring to a low boil.  Lower the heat and reconstitute.  Remove the mushrooms with a slotted spoon and chop. 

Since I was not using mushrooms, I completely skipped this step.  Instead, I started heating the butter in a frying pan with the sliced chicken and bay leaf.  

Bring a large pot of water to a boil, salt it, add the pasta and cook until al dente.  Drain, reserving a little of the pasta cooking water. 

I could not find pappardelle at my grocery store, so I replaced it with paccheri.  Paccheri is essentially HUGE, ridge free, ziti! 

While the pasta is working, heat the butter in a large skillet over medium heat.  Add the cremini (or portobello) mushrooms and bay leaf and increase the heat to medium-high.  Cook, stirring occasionally, until the mushrooms darken, 7 to 8 minutes. 

Again, I used this step to prepare the chicken.  Of course, the cooking time was a little longer since I was working with raw chicken!  Be sure to cook the chicken until it has turned white and its juices run clear. 

Add the kale (or swiss chard), shallots, and garlic; season with salt, pepper, and nutmeg. 

I used swiss chard and cut it down into strips that were approximately a 1/2 inch wide.  The size worked nicely for the dish - the chard was present without being lost or overwhelming!  Rachel's recipe also calls for freshly grated nutmeg, which is great, but I used pre-ground from my spice rack! 
  
Cooking for about 7 minutes longer, then stir in the wine.  Add the chopped reconstituted mushrooms and all but 1/4 cup of the mushroom infused stock (the grit settles to the bottom of the pan as the mushrooms reconstitute). 

I added 1 3/4 cup of vegetable stock (approximately 1 can).  
 
Stir in the cream and cook to reduce and thicken.  Toss the pasta with the sauce, adding the reserved pasta cooking water if the sauce is too thick to coat the pasta nicely.  Garnish with the sage and serve with the cheese. 

I had a little problem with the sauce thickening.  Despite following her fluid amounts in the recipe, it would not thicken!  I cooked it for a while and had no results, so I added it to the pasta pan and turned on medium heat in the hopes that some of the sauce would be absorbed by the pasta and would help it thicken.  I ended up pulling a little of the sauce out of the pan and mixing it with a teaspoon of cornstarch, made a paste, and added it back to the pan.  The sauce thickened within a minute of me adding the cornstarch and sauce paste!  If you don't have cornstarch, flour will have the same effect!  Also, to help my novice chefs along, 1 cup of heavy cream is the 1/2 pint sized container at the grocery store!  


Sunday, October 10, 2010

Creamy Chicken and Green Bean Casserole

It is the official start of my self proclaimed CASSEROLE WEEK!!!  Why casseroles, you may ask?  They are easy and cheap to make, are a great way to get left overs out of the fridge and freezer, and can be made a head of time and reheated!  Plus, casseroles are great for lunch the next day or two!  I know that some of you do not have ovens or access to them, so I would like to take a quick second here to tell you that you do not have to have an oven to enjoy a casserole!  All of the ingredients can be prepared and heated and then served on top of each other.  For example, with tonight's recipe, you can heat the green beans in the sauce while the chicken cooks, and then top with the stuffing mixture.  Sometimes, we just have to get a little creative to enjoy our kitchen and dinner!

I have made this casserole for some of my friends in the past, but never for my family, so it is new for my dad and sister...hopefully they will be digging in for seconds!

Creamy Chicken and Green Bean Casserole
Yields 6 - 8 servings

To Prepare the Casserole
1. Pre-heat your oven to 350 degrees.
2. Heat a tablespoon or two of olive oil in a frying pan over medium heat.
3. Once the olive oil is hot, add 1 pound of chicken.  I used boneless, skinless chicken tenderloins!
4. While the chicken is cooking, start making the sauce by adding 2 cans of cream of chicken soup, 2 cans of cream of mushroom soup, and 1 cup of white wine in a bowl and mixing it well.  (Be sure to pour yourself a glass of wine while you are at it!)
5. Pour a thin layer of sauce in a large casserole dish.
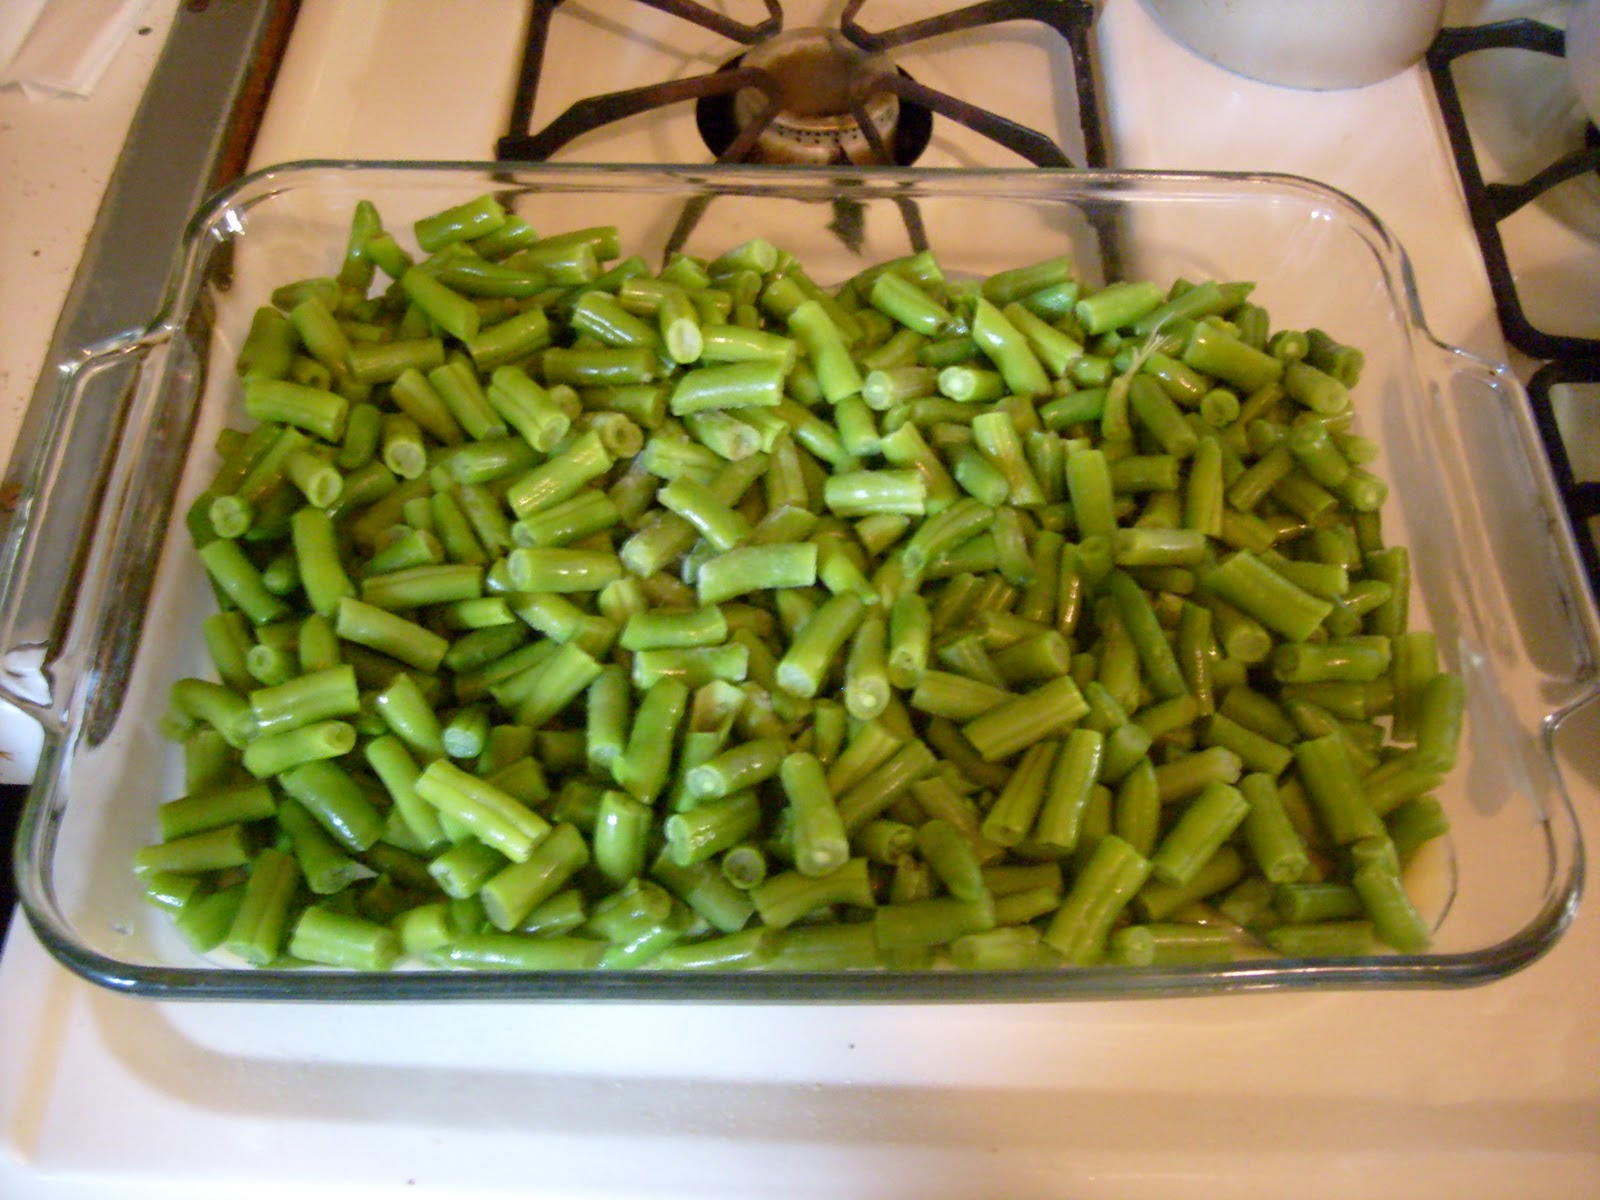
6. Put 2 pounds of thawed green beans in the casserole dish.
7. Evenly spread the cooked chicken on top of the green beans.
8. Cover the entire casserole with the remaining sauce.
9. Top with dry, seasoned stuffing cubes.
10. Bake in the oven for approximately 45 minutes, or until the stuffing is golden brown and the sauce is bubbling! 

Enjoy your casserole with a glass of white wine!

Wednesday, September 29, 2010

Homemade Butter...Delicious and a Workout!

Let me start off by assuring you that you do not need a butter churn, or hoop skirt, in order to make homemade butter!  Earlier this week I had used half a carton of heavy cream, and wanted to use the rest instead of letting it go bad in the back of the fridge.  There is nothing I love more that fresh butter on a warm piece of bread, so butter was the first thing that came to mind when it came time to finish off the heavy cream!  Because the container my heavy cream came in had a screw top, I was able to leave it in that container.  If your cream came in a carton that does not screw shut, move the cream over to a large container, jar, or bottle that will screw shut...otherwise you will have a huge mess on your hands!  Make sure that there is about the same amount of air as there is cream in whatever container you are using, as the cream will expand during the process!  This is also the stage where you can add some flavor...a little maple syrup, salt, spices such as thyme or lavender, or pepper!  Once you have your cream in the container, start shaking!  You will need to shake it for 20 - 30 minutes, so this is a lot more fun to do while watching tv or having someone else to help you along!

When you first start you will definitely hear and feel the cream moving around.  The more you shake it, the less you will hear it and feel it.  If you open the container you will see that the cream is starting to turn into a foam and is expanding.  It will feel like it is in this stage FOREVER!  Keep shaking!!!
Starting to expand and foam!
Getting close to becoming butter!
 All of the sudden you will feel and hear the cream moving again, but it will sound more like water than cream.  When you open your container, you will see that the butter has separated!  If you used a carton of cream, cut the container open so you can reach and see into the container, and if you used another container go ahead and open it.  Gently pour off what liquid there is, and you will be left with just the butter in the container!  You will need to store the butter.  I like to put a little sea salt in the bottom of a silicon cupcake mold and then press the butter into it, and then scrape a knife across the top to smooth it out.  It goes without saying to keep it in the fridge!  Be creative with your storage...you can press the butter into small bowls, candy molds (which are really fun around the holidays!), or even leave it in the container you made it in!
There is definitely some butter in there!
The butter separated from the liquid!!
Sea salt for extra flavor!

Ready for the fridge and consumption!!!

Monday, September 27, 2010

Pecan Encrusted Pork Cutlets with Salted Apple Caramel Cream Sauce

Fall is, by far, my favorite season, and with that comes the flavors of fall!  I have always been a fan of pork and apples, but wanted to put a new spin on it this year.  Salted caramel has been something I have been encountering a lot this year at restaurants and in recipes, and wanted to marry that flavor with the pork and apples.  The pecans add the right amount of savory and nutty flavor to balance out this sauce!  I hope you enjoy this as much as I did!


Pecan Encrusted Pork Cutlets with Salted Apple Caramel Cream Sauce 
Yields 4 - 5 servings


To Prepare the Sauce
1. Add 2/3 cup of heavy cream to a sauce pan on VERY low heat.  The burner should barely be on!
2. Add 2/3 cup of T. Marzetti caramel dip to the sauce pan.  T. Marzetti is the most commonly found brand of straight forward caramel dip.  You should be able to find it with the apples in the produce department of your grocery store!

3. Add 1/2 a teaspoon of sea salt to the pan, and gently stir all of the ingredients together until the color and texture is even.

4. While the mixture continues to cook over low heat, slice 1 Granny Smith Apple into very thin slices.  They should be approximately 1/8 inch thick, but no thicker than 1/4 inch!
5. Add them to the sauce pan and continue to simmer it and occasionally stir it over low heat while you prepare the pork!

To Prepare the Pork
1. Put 1 pound of pecan pieces on a piece of parchment paper on your counter or a table.

2. Using a rolling pin, break down the pieces just a little bit more by rolling them and pressing down with some force.

3. Spray a little non-stick cooking spray into a glass casserole dish. 
4. Take a pork cutlet and press it into the pecan pieces.  Do this to both sides, and then place it flat in the casserole dish.  I used 1 pound of pork cutlets! 
5. After all of the cutlets are coated and in the dish, bake them in the oven at 350 degrees for approximately 40 minutes.

To Serve
1. Plate your pork cutlet and top with a little bit of the sauce!


I served mine along side green beans and some homemade smashed red potatoes!  It was beyond delicious...all I had hoped for and more!
Related Posts Plugin for WordPress, Blogger...