Showing posts with label Bread. Show all posts

Monday, August 29, 2011

Banana Bread Duo

Grandmom is keeping me elbow deep in bananas this month!  Obviously the first stop is banana bread!  I opted for the classsic Banana Walnut Bread, as well as a Double Chocolate Chip Banana Bread - we are a family of chocoholics, what can I say?  I debated layering these in the same pan to make 2 striped loaves, but wasn't sure if they would cook at the same rate...now I know, and the answer is yes!


Banana Walnut Bread
Yields 1 large loaf, 2 smaller loaves, or 3 mini loaves

Ingredients 
2 1/2 cups flour
1 cup sugar
3 tsp baking powder
1 tsp cinnamon 
1 cup vegetable oil
2 very ripe smashed bananas (approximately 1 cup once smashed) 
2 eggs
2 tbsp milk
1 cup walnuts

To Prepare the Banana Walnut Bread 
1. Pre-heat your oven to 350 degrees
2. Blend all of the dry ingredients (except for the walnuts) together in a bowl.
3. Add the oil. milk, eggs, and bananas and mix until you reach a smooth consistency.
4. Fold in the walnuts.
5. Bake for appoximately 45 minutes in a greased pan, or until the bread is cooked through. 

Double Chocolate Chip Banana Bread 
Yields 1 large loaf, 2 smaller loaves, or 3 mini loaves

Ingredients 
2 1/2 cups flour
1/2 cup unsweetened cocoa powder
1 cup sugar
3 tsp baking powder 
1 cup vegetable oil
2 very ripe smashed bananas (approximately 1 cup once smashed) 
2 eggs
2 tbsp milk
1 cup chocolate chips

To Prepare the Double Chocolate Chip Banana Bread
1. Pre-heat your oven to 350 degrees
2. Blend all of the dry ingredients (except for the chocolate chips) together in a bowl.
3. Add the oil. milk, eggs, and bananas and mix until you reach a smooth consistency.
4. Fold in the chocolate chips.
5. Bake for appoximately 45 minutes in a greased pan, or until the bread is cooked through. 

Wednesday, February 9, 2011

Layered Enchilada Bake and a Special Delivery

I had mentioned in last night's post, that Monday night we had dinner at my grandmom's.  We had such a delicious dinner, and I just had to share the recipe with all of you!  It was a recipe she got from a Kraft magazine. 

Layered Enchilada Bake
Yields 8 servings


Ingredients 
1 pound lean ground beef
1 large onion, chopped
2 cups chunky salsa
1 can (15 ounces) black beans, drained, rinsed
1/4 cup zesty Italian dressing
2 tbsp taco seasoning mix
6 flour tortillas
1 cup sour cream
1 package (8 ounces) Mexican style four cheese

To Prepare the Enchilada Bake
1. Heat the oven to 400 degrees.
2. Brown meat with onions in large skillet on medium-high heat, and then drain off the liquid.
3. Stir in the salsa, beans, dressing, and seasoning mix.
4. Arrange 3 tortillas on the bottom or a 13x9 inch baking dish.
5. Cover the tortillas with layers of half the meat mixture, half of the sour cream, and half of the cheese. Repeat this step with the remaining ingredients and cover with foil.
6. Bake for 30 minutes and then cook uncovered for 10 minutes or until the casserole is heated through and the cheese is melted.

My grandmom served ours with shredded lettuce, tomatoes, sour cream, guacamole, and jalapenos for topping our slice of casserole!

The official photo from the Kraft magazine...it looked this great at Grandmom's, too!
Late yesterday afternoon, I also got a special package in the mail from Panera Bread - yes, my book and gift card arrived after mucho waiting and impatience!  I am super excited to treat my family to dinner at Panera over the weekend!  The book I won is beautiful and I cannot wait to start working my way through all of the delicious recipes!  It is Artisan Bread by Eric W. Kastel.  The instructions are well written and the photos are beautiful!  My salivary glands go nuts whenever I thumb through the book!  I am CERTAIN I will have lots of bread pictures for all of you guys in the coming months! 

Monday, January 10, 2011

Meatless Monday - Havarti and Kale Grilled on Seeded Rye with Tomato Soup

I should have known better than to venture into the kitchen while I was under the weather.  Dinner was good, but definitely NOT incident free...

Every now and then throughout the year I go on a new recipe binge.  I try out a bunch of new things, and then adapt them to my style and my family's tastes!  It looks like the binge came early this year.  

Rachel Ray got me again with the pictures of her Grilled Cheese and Kale Sandwiches with Tomato Soup.  It looked beyond yummy, and seemed like a good dinner for Meatless Monday.  With a storm a-brewin' to the west of us, and the temperatures steadily dropping, it seemed like the perfect combo!  Not to mention, I hoped that it would help my stuffed up nose along!

It seemed easy enough...

I forgot to pick up the havarti and bread at the grocery store when I did my shopping...greaaaat.

So today, on the way home from work, my dad and I stopped at the grocery store.  Not thinking, I had worn slippers in the car and couldn't go in the store, so I sent my dad in with a list and told him, "If they don't have havarti at the deli counter, get provolone."  What seemed like 40 minutes later he emerges...with havarti...in block form.  Crap.  Ok, so I will just slice it up when I get home...no biggie.  As I drive, I suddenly remember that someone, who shall remain nameless, ran my wooden cheese slicer through the dishwasher and cracked it beyond repair.  Hand slicing soft cheese...this is going to make for an interesting night!  At least he did me proud and picked up a real loaf of seeded rye in the bakery...bonus points for dad!

We get home and I get the havarti sliced in a decent amount of time, assemble 3 sandwiches, and start melting a pad of butter in the frying pan on medium heat.  Two sandwiches went in easily, and I dipped my kitchen brush in the melted butter and saturated the tops of both sandwiches.  I reached for my tried and true Campbell's Condensed and the milk and got the tomato soup going while they cooked.  After about 5 minutes on low to medium heat, the bottom layer of havarti had melted most of the way, so I flipped and pressed the sandwiches down with a spatula to help everything bind together.  My dad and sister's sandwiches came out of the pan and were the definition of perfection when I cut them in half and set them on a plate next to a heaping bowl of steamy tomato soup!

Then it quickly went downhill as I put my sandwich in the pan.  I threw another pad of butter in the pan forgetting that the heat was a little high.  It browned quickly and I though, "No biggie, I'll toss it in anyway'"  Yeah...not my best idea.  I thought it was ok, and dipped my brush in the butter to take care of the top piece of bread.  The brush MELTED IN THE BUTTER!
The burnt brush aftermath!
I scooped my spatula under the sandwich and started yelling for help.  My sister sauntered into the kitchen wanting to know what my problem was.  She got me a smaller frying pan for me and dropped a pad of butter in it.  I figured my sandwich was ready to flip and flipped it over into the new pan.  I burnt the bottom of my sandwich and the cheese didn't melt all of the way.  I managed to get it to melt most of the way and finally was able to enjoy my dinner!

After all was said and done, the grilled cheese was worth it and everybody loved it, but I guess I would have liked it more if mine had been a little less...cajun style?

Havarti and Kale Grilled on Seeded Rye 
Source: Every Day with Rachel Ray - February 2011
Yields approximately 5 sandwiches

Ingredients 
1 pound of havarti cheese
1 pound of kale
1 loaf of seeded rye bread
a few tablespoons of butter

To Prepare 
1. Melt a tablespoon of butter in a frying pan over low to medium heat.
2. Spread a layer of havarti on both sides of the bread.
3. Place a layer of deveined kale leaves on one side of the sandwich and close the sandwich.
4. Cook the sandwich in the melted butter over low to medium heat. For the optimal  golden brown buttery sandwich, spread some melted butter on the top side of the sandwich while it cooks!  When you flip it there will be some butter to brown and bubble!
5. After you flip it, press it down with a spatula so everything starts to melt together. 
6. Pull the sandwich out of the pan when the cheese has melted!
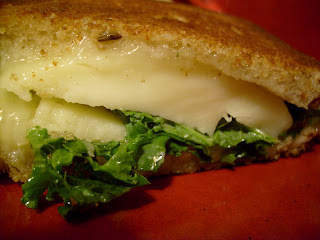
It didn't quite melt all the way because I was afraid of burning it more!  It was still delicious though!!
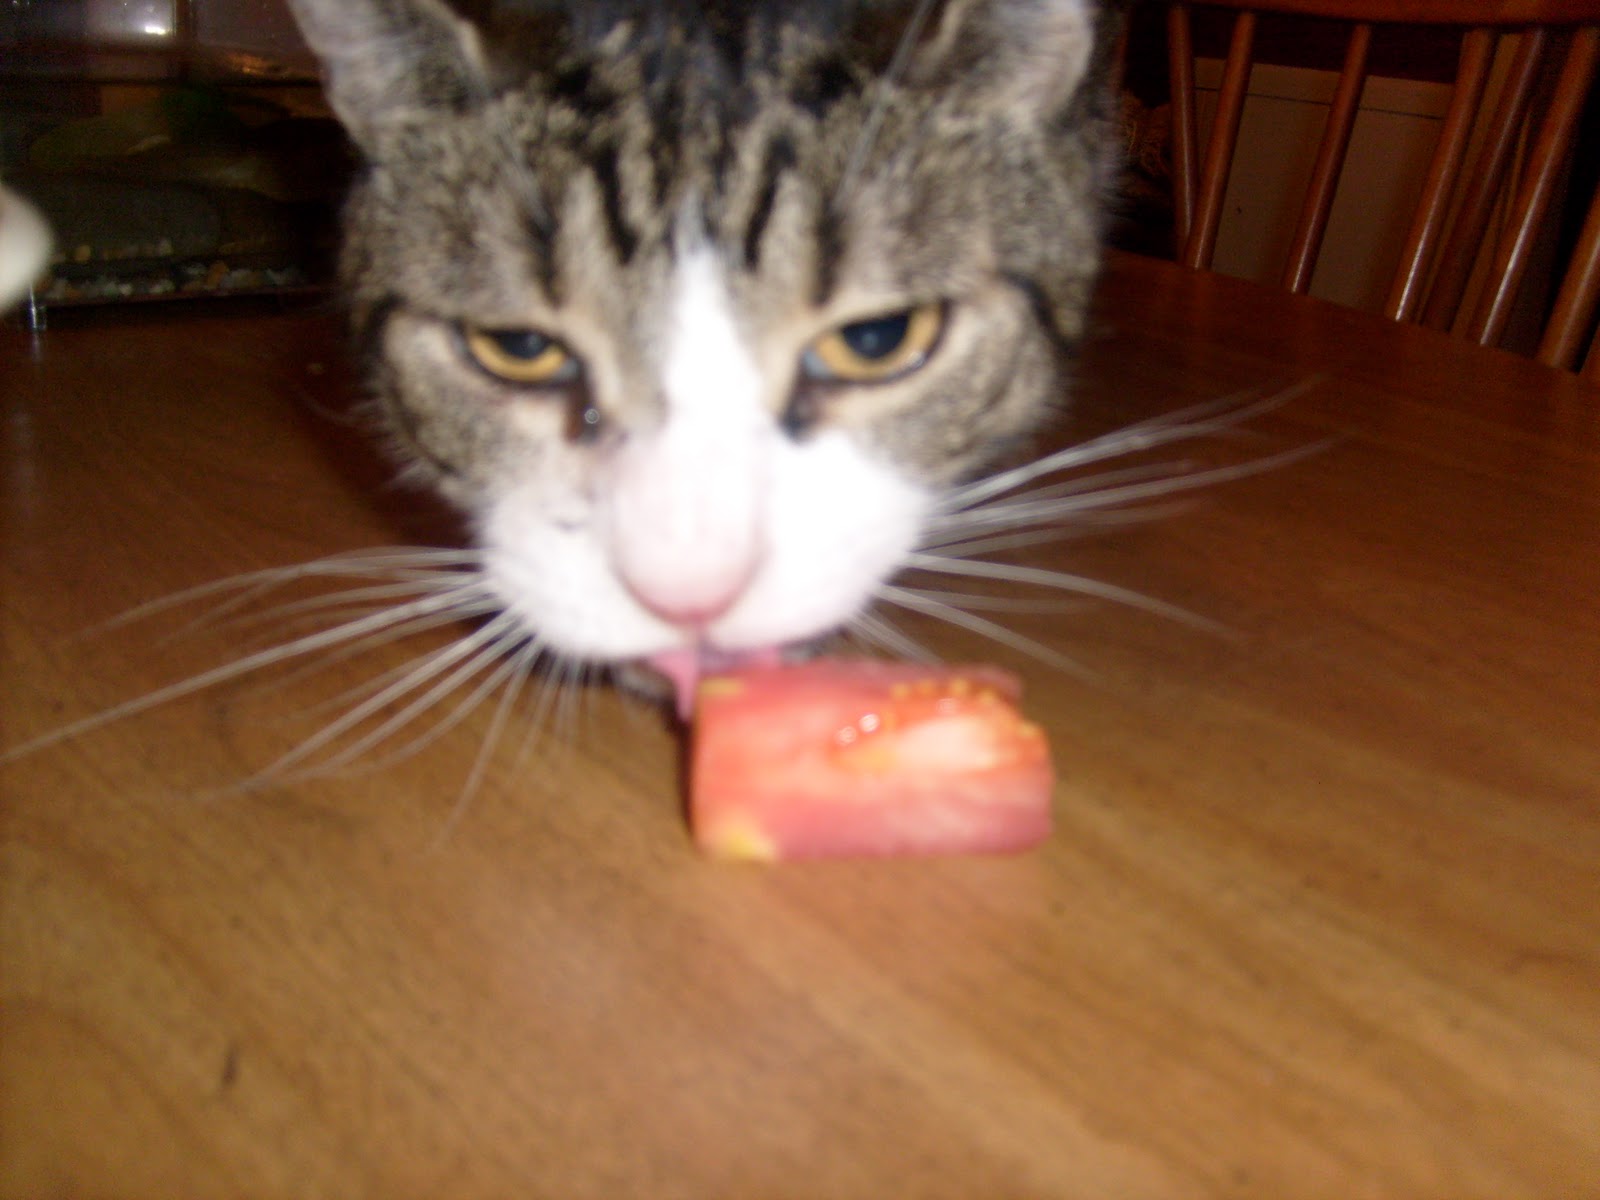
On a fun little side note, I have to show how absolutely adorable my cat Vinnie is!  He LOVES tomatoes, so any time we have fresh tomatoes or tomato soup, he puts on his "I don't want it face," and starts purring so loud that it sounds like a semi is coming through the house.  Tonight he was eating the spoon full of left over tomato soup off a spoon.  He has manners, what can I say?  Here are a few photos of him with a slice of tomato...


Monday, December 27, 2010

I Was At It Again...

I am in LOVE with this whole bread baking process and my mixer!  Today I made 4 more loaves of bread using the Kitchen Aid White Bread and Wheat Bread recipes.  I made a few adaptations and branched out a little bit!

First: An organic white loaf dusted with organic flour after it was done baking. 


Second: An organic white loaf with a 60 % semi sweet cacao swirl.


Third: A split top wheat loaf.


Fourth: A wheat loaf with sundried tomatoes and chopped basil.


Clockwise starting from the top right corner: Chocolate Swirl White, Sundried Tomato Basil Wheat, Split Top Wheat, and Organic White.

Monday, October 25, 2010

French Toast Casserole

French toast casserole has saved me in a brunch pinch sooooooo many times!  It is filling, easy to make, and can be prepared the night before!  I figured I couldn't go wrong with it for a room of starving high school students after the homecoming dance.  They all really seemed to enjoy it, and we even had a little left the next morning for breakfast!  What I also love about french toast casserole is that you can adapt it.  I have made this with cream cheese cubes and blueberries through it, topped it with fruit sauce, and even have used cinnamon and sweet cheese bread instead of french loaves...remember to have fun with your recipes and make them unique and your own!

French Toast Cassserole 
Yields 10 servings

To Prepare the Casserole
1. Rip 2 large french bread loaves into pieces that are just a little bigger than 1 square inch, and put them in a large bowl.
2. In a separate bowl, scramble 6 eggs. 
3. Add 2 cups of milk, 1/2 a cup of maple syrup, 1/2 a teaspoon of cinnamon, 1/2 a teaspoon of nutmeg, and 1/2 a teaspoon of ginger to the eggs.  Blend it all together very well!
4. Pour the wet mixture over the bread, making sure that all of the bread is coated. 
5. Cover it and put it in the fridge either overnight or a few hours before you want to serve it. 

To Finish the Casserole 
1. Preheat your oven to 350 degrees.
2. Pour the bread mixture into the casserole dish, and spread it out evenly.
3. Melt 8 tablespoons of butter (1 stick).
4. Add 1 cup of brown sugar to the butter and mix it well.
5. Drizzle the brown sugar and butter mixture across the top of the casserole.
6. Bake the casserole for approximately 30 minutes, or until it is firm to the touch and the corners have started to brown just a bit!
Related Posts Plugin for WordPress, Blogger...