Showing posts with label Peanut Butter. Show all posts

Wednesday, February 2, 2011

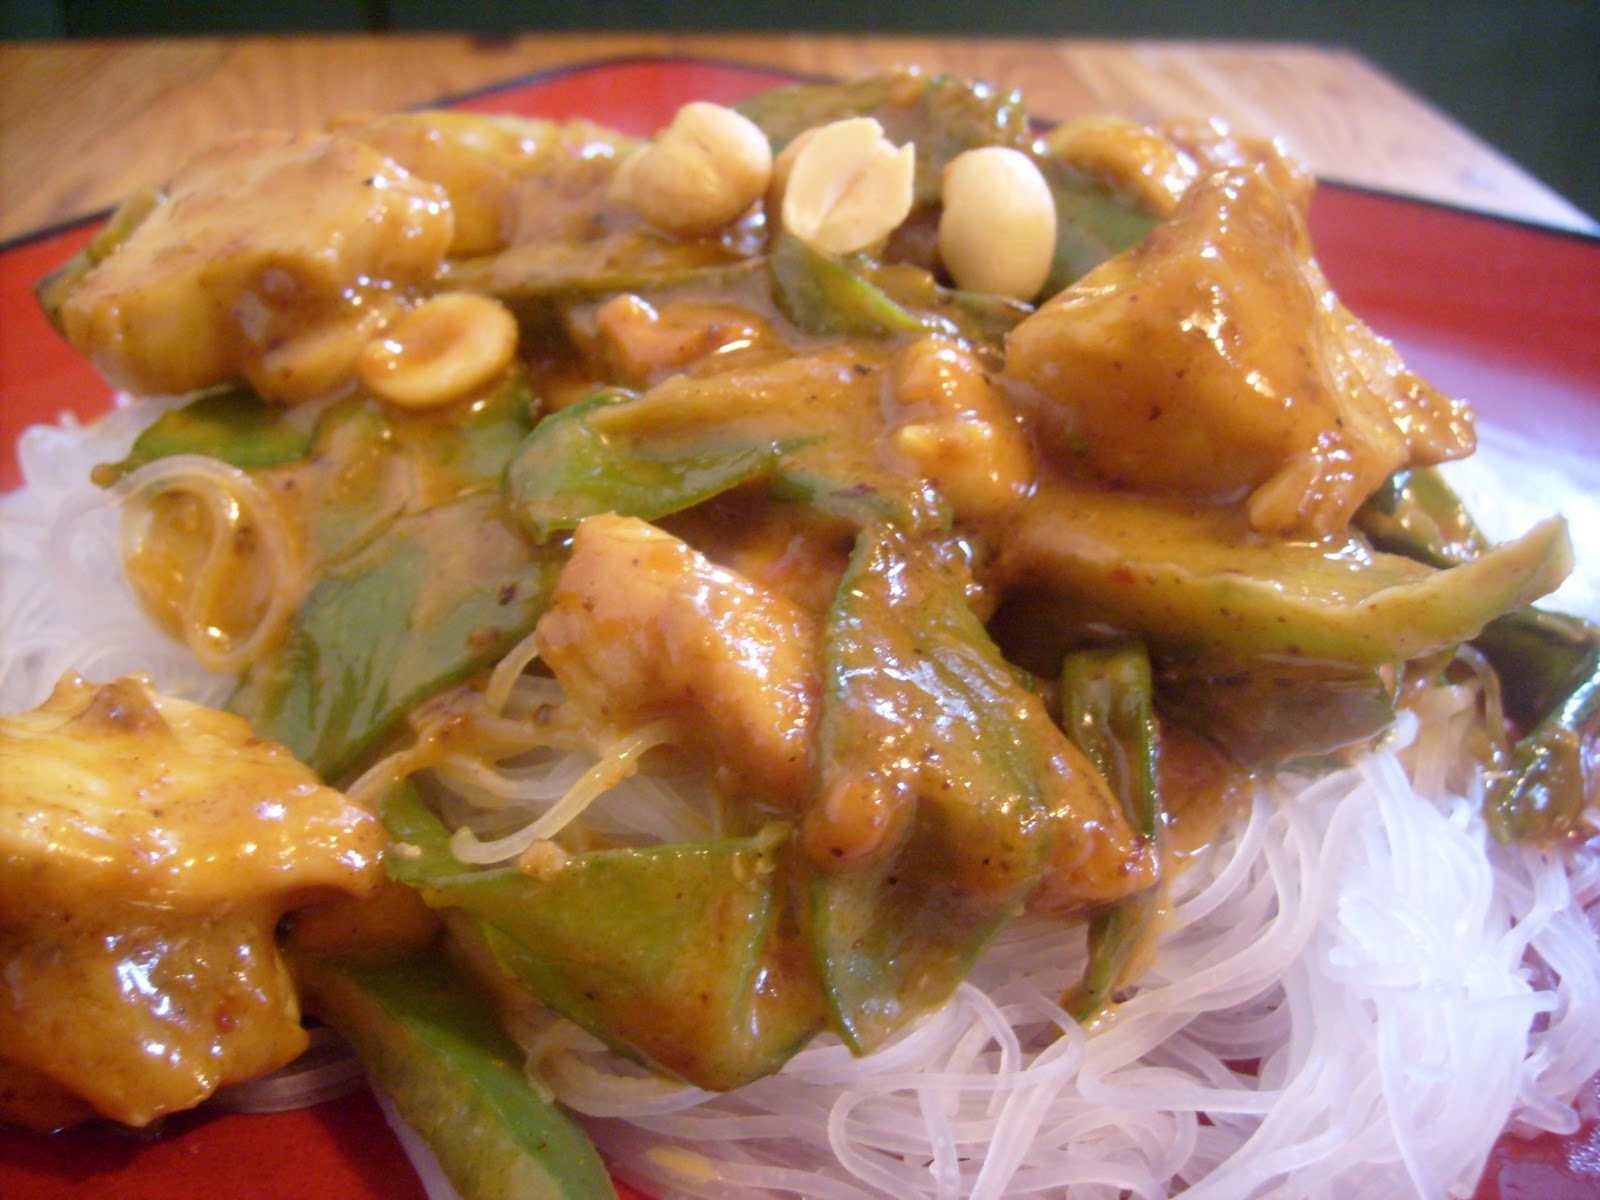
Peanut Butter Chicken Satay

In a humble city named New York, there is a restaurant I have been DYING to visit.  For a few years now, I always plan on going during my trips into Manhattan, but have not managed to get there yet.  Thankfully Peanut Butter & Co has started selling most of their no-stir natural peanut butters in most major grocery store chains!  Check out the link to see the PBJ menu from their New York City sandwich shop - prepare yourself for droolage! 

They offer 10 flavors of peanut butter including:
Smoot Operator
Crunch Time
Cinnamon Raisin Swirl
The Heat Is On
White Chocolate Wonderful
Dark Chocolate Dreams
The Bee's Knees
Mighty Maple
Old Fashioned Smooth
Old Fashioned Crunchy

Most of their peanut butters run between $5 and $6, but I tend to find them at the grocery store for about $4.50.  At that price, you can understand the fit of joy I had when I stumbled upon a case of The Heat Is On at my local Christmas Tree Shop for only $2.99!  I had tried the Dark Chocolate Dreams and loved it, so in the cart my spicy peanut butter went!  I couldn't imagine spreading it on a sandwich with jelly, but wasn't quite sure how to use it.  I finally decided on tapping into Asian Cuisine and using it to make a peanut satay sauce.  I do have to admit, it was pretty delicious with a stick of celery, though! 
Please note the "devilish" and silly monkey on the label!  I love this kind of attention to detail!

The Heat Is On has a blend of "fiery" spices that consists of chili powder, cayenne pepper, crushed red pepper, paprika, vinegar, and salt.  I will tell you now, this peanut butter is not for the faint of heart...it is SPIIIIIIICY!  Consider yourselves warned hehe! 

Peanut Butter Chicken Satay
Yields 5 servings

Ingredients
2 tbsp olive oil
1 pound cubed chicken
2 bell peppers, cut into 1/4 inch wide strips
1 small onion, peeled and chopped
1/2 pound snow peas
1/2 cup peanut butter - if you want spicy satay use The Heat Is On or add spices to your peanut butter!
1/2 cup cream of coconut
1/2 cup peanuts
1/4 cup milk
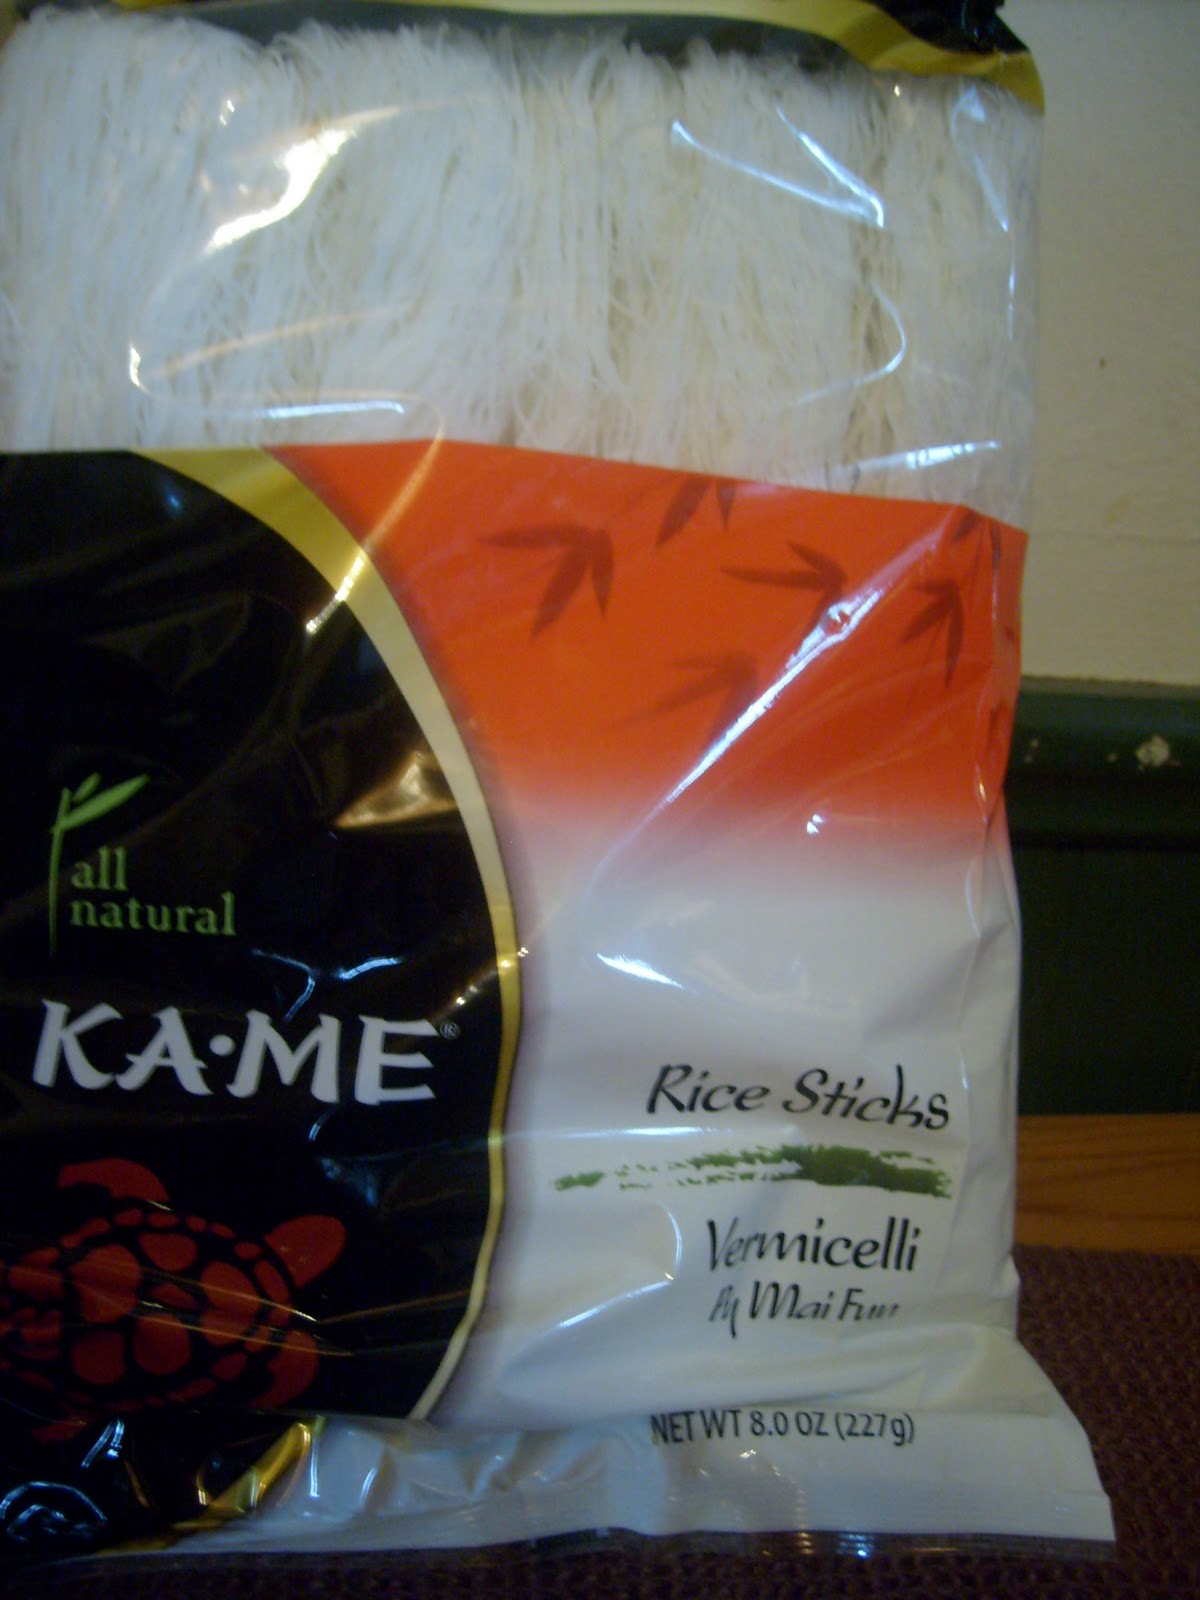
1/2 pound package of rice sticks

To Prepare the Satay
1. Heat the olive oil in a large frying pan over medium heat.
2. When the oil is hot, add the chicken. 
3. Once the chicken has cooked most of the way, add your peppers and onions.  Cook everything until the onions and peppers have started to become translucent!
4. Add the snow peas to the pan and turn the burner to a low heat. 
5. Start boiling a pot of water to cook the rice sticks in.  
6. In a sauce pan, combine the peanut butter, milk, cream of coconut, and peanuts and cook over low heat until everything comes together in a slow simmer. 
7. Cook your rice sticks.
8. Pour the satay sauce over your vegetables and chicken. 
9. Strain the rice sticks and serve! 
Sunday, September 26, 2010

Chocolate Peanut Butter Checkerboard Cake

My dad is a peanut butter and chocolate FANATIC!  So, when his birthday rolled around this week, I could not think of a better combination for his birthday cake!  I have been itching to try this checkerboard technique since I saw the Cake Boss do it on one of the episodes.   I had to improvise for the cake, since they do not sell peanut butter flavored cake mix, but the end result was very peanutty and had the texture of a Reese's Cup!  The cake was very rich and filling, and best of all everyone loved it!  I am really curious as to why none of the cake batter companies have jumped on the chocolate and peanut butter bandwagon!  I am excited to try this cake technique with some other flavors: chocolate mint, vanilla peppermint, and lemon dark chocolate!   

Chocolate Peanut Butter Checkerboard Cake 
Yields 12 - 14 servings

To Prepare the Cakes
1. To make the peanut butter cake, start with a Betty Crocker Super Moist White Cake mix.  Follow the directions on the back with the exception of the water!  Instead, use 1 cup of peanut butter, and 3/4 cup of water!  You are going to have to beat the batter a little harder than usual to get every thing to blend together. 

All of the wet ingredients mixed together!
The end result before baking!
2. Bake the cake per the directions on the box! 
3. When the peanut butter cake is done, let it cool.
4. Bake a chocolate cake using a batter of your choosing!  Be sure you use the same pan that you baked the peanut butter cake in so your cakes are the same size and shape!

To Assemble the Cakes
1. After the cakes have cooled (I like to cool mine over night), take a knife and gently level the tops of the cakes so they are flat and the same height as each other!


2. Using a set of nesting circle cookie cutters, make a bulls-eye on your cake.  Gently press the cutters all the way through!


Nesting circular cookie cutters
Try to make sure that your circles are centered!
You can see the faint lines of where the cookie cutters are after being pushed through!

3. Gently separate the circles from each other and separate them on two plates like the pictures below! 

4. Do the same with the chocolate cake and add them to the peanut butter one like the picture below!

5. Ice the mostly peanut butter cake with some smooth peanut butter.  Make sure you ice this cake...it is more dense and more heavy!  If you put it on top of the chocolate cake it might collapse! 

6. Put the mostly chocolate cake on top of the icing and peanut butter cake.
7. Ice the cake with chocolate icing, and then add some peanut butter!  Be creative and do what you are comfortable with!  I used an icing decorating triangle to get the texture in the icing, and piped some peanut butter and chocolate around the top and bottom! 

When you cut the cake, you will get this great checkerboard effect! 
Related Posts Plugin for WordPress, Blogger...