Showing posts with label Rice. Show all posts

Wednesday, February 2, 2011

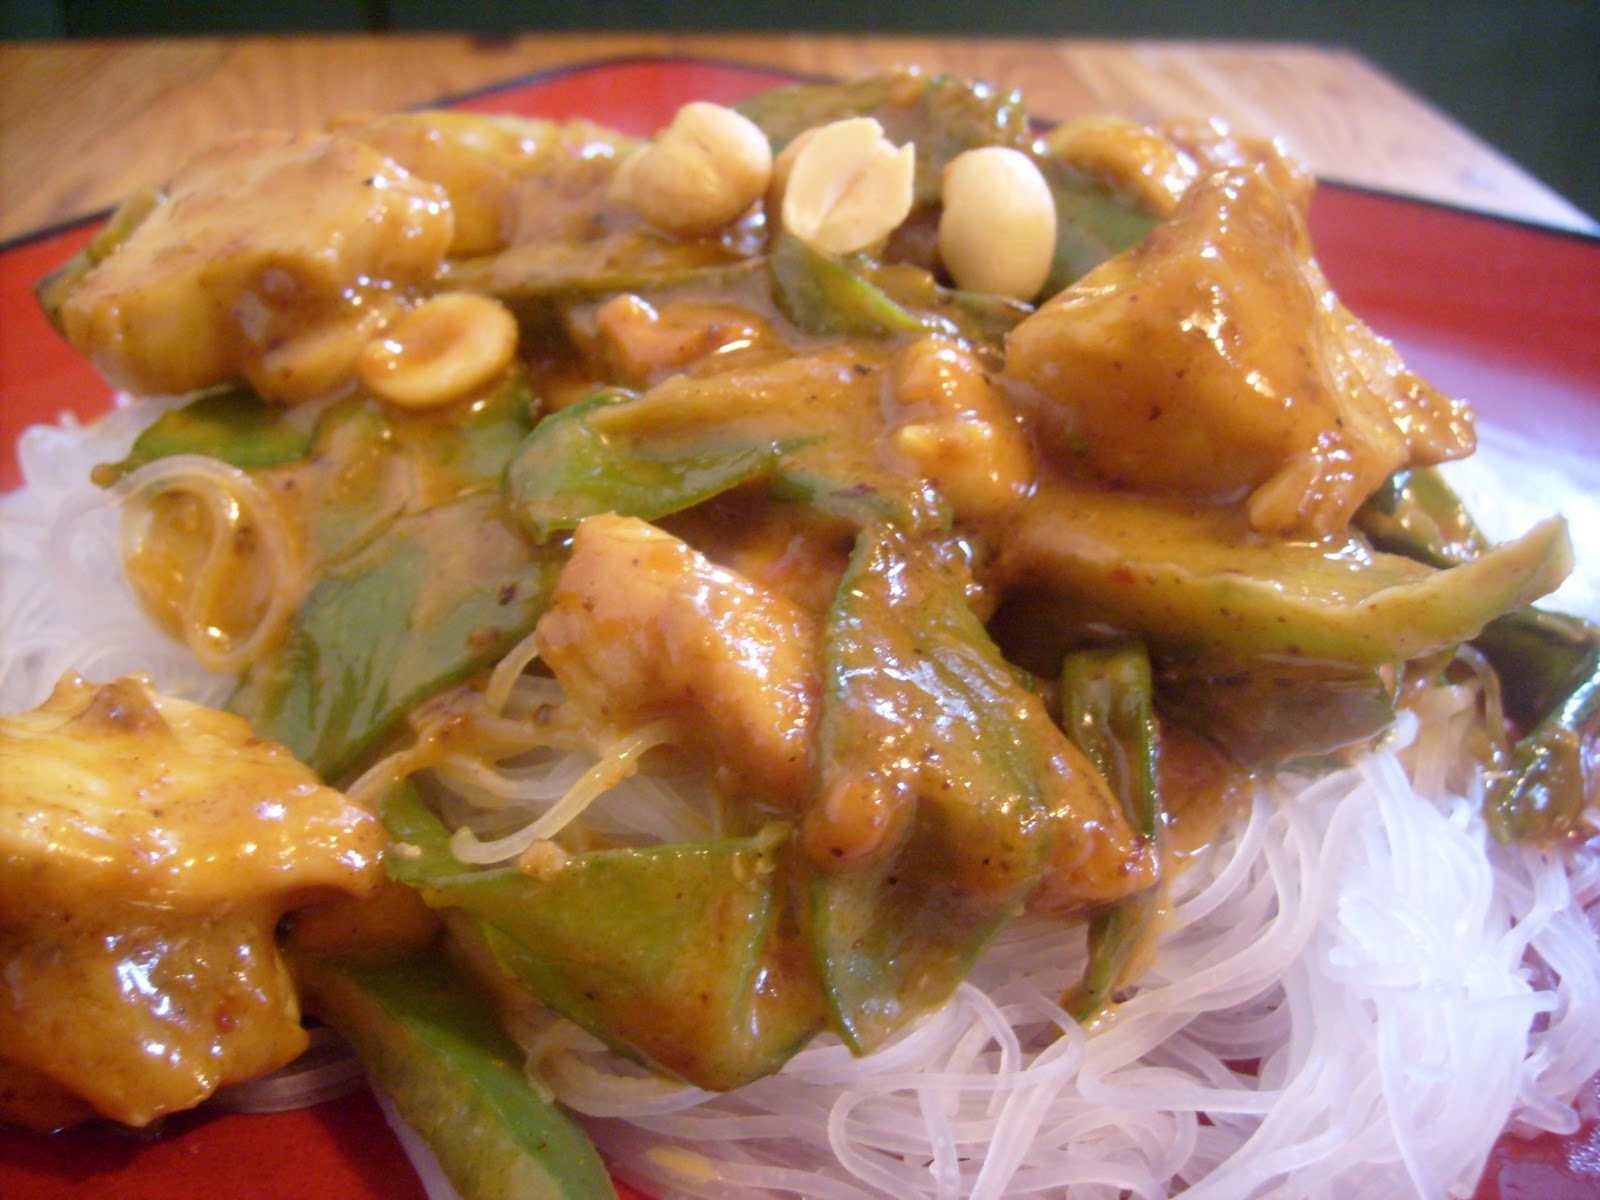
Peanut Butter Chicken Satay

In a humble city named New York, there is a restaurant I have been DYING to visit.  For a few years now, I always plan on going during my trips into Manhattan, but have not managed to get there yet.  Thankfully Peanut Butter & Co has started selling most of their no-stir natural peanut butters in most major grocery store chains!  Check out the link to see the PBJ menu from their New York City sandwich shop - prepare yourself for droolage! 

They offer 10 flavors of peanut butter including:
Smoot Operator
Crunch Time
Cinnamon Raisin Swirl
The Heat Is On
White Chocolate Wonderful
Dark Chocolate Dreams
The Bee's Knees
Mighty Maple
Old Fashioned Smooth
Old Fashioned Crunchy

Most of their peanut butters run between $5 and $6, but I tend to find them at the grocery store for about $4.50.  At that price, you can understand the fit of joy I had when I stumbled upon a case of The Heat Is On at my local Christmas Tree Shop for only $2.99!  I had tried the Dark Chocolate Dreams and loved it, so in the cart my spicy peanut butter went!  I couldn't imagine spreading it on a sandwich with jelly, but wasn't quite sure how to use it.  I finally decided on tapping into Asian Cuisine and using it to make a peanut satay sauce.  I do have to admit, it was pretty delicious with a stick of celery, though! 
Please note the "devilish" and silly monkey on the label!  I love this kind of attention to detail!

The Heat Is On has a blend of "fiery" spices that consists of chili powder, cayenne pepper, crushed red pepper, paprika, vinegar, and salt.  I will tell you now, this peanut butter is not for the faint of heart...it is SPIIIIIIICY!  Consider yourselves warned hehe! 

Peanut Butter Chicken Satay
Yields 5 servings

Ingredients
2 tbsp olive oil
1 pound cubed chicken
2 bell peppers, cut into 1/4 inch wide strips
1 small onion, peeled and chopped
1/2 pound snow peas
1/2 cup peanut butter - if you want spicy satay use The Heat Is On or add spices to your peanut butter!
1/2 cup cream of coconut
1/2 cup peanuts
1/4 cup milk
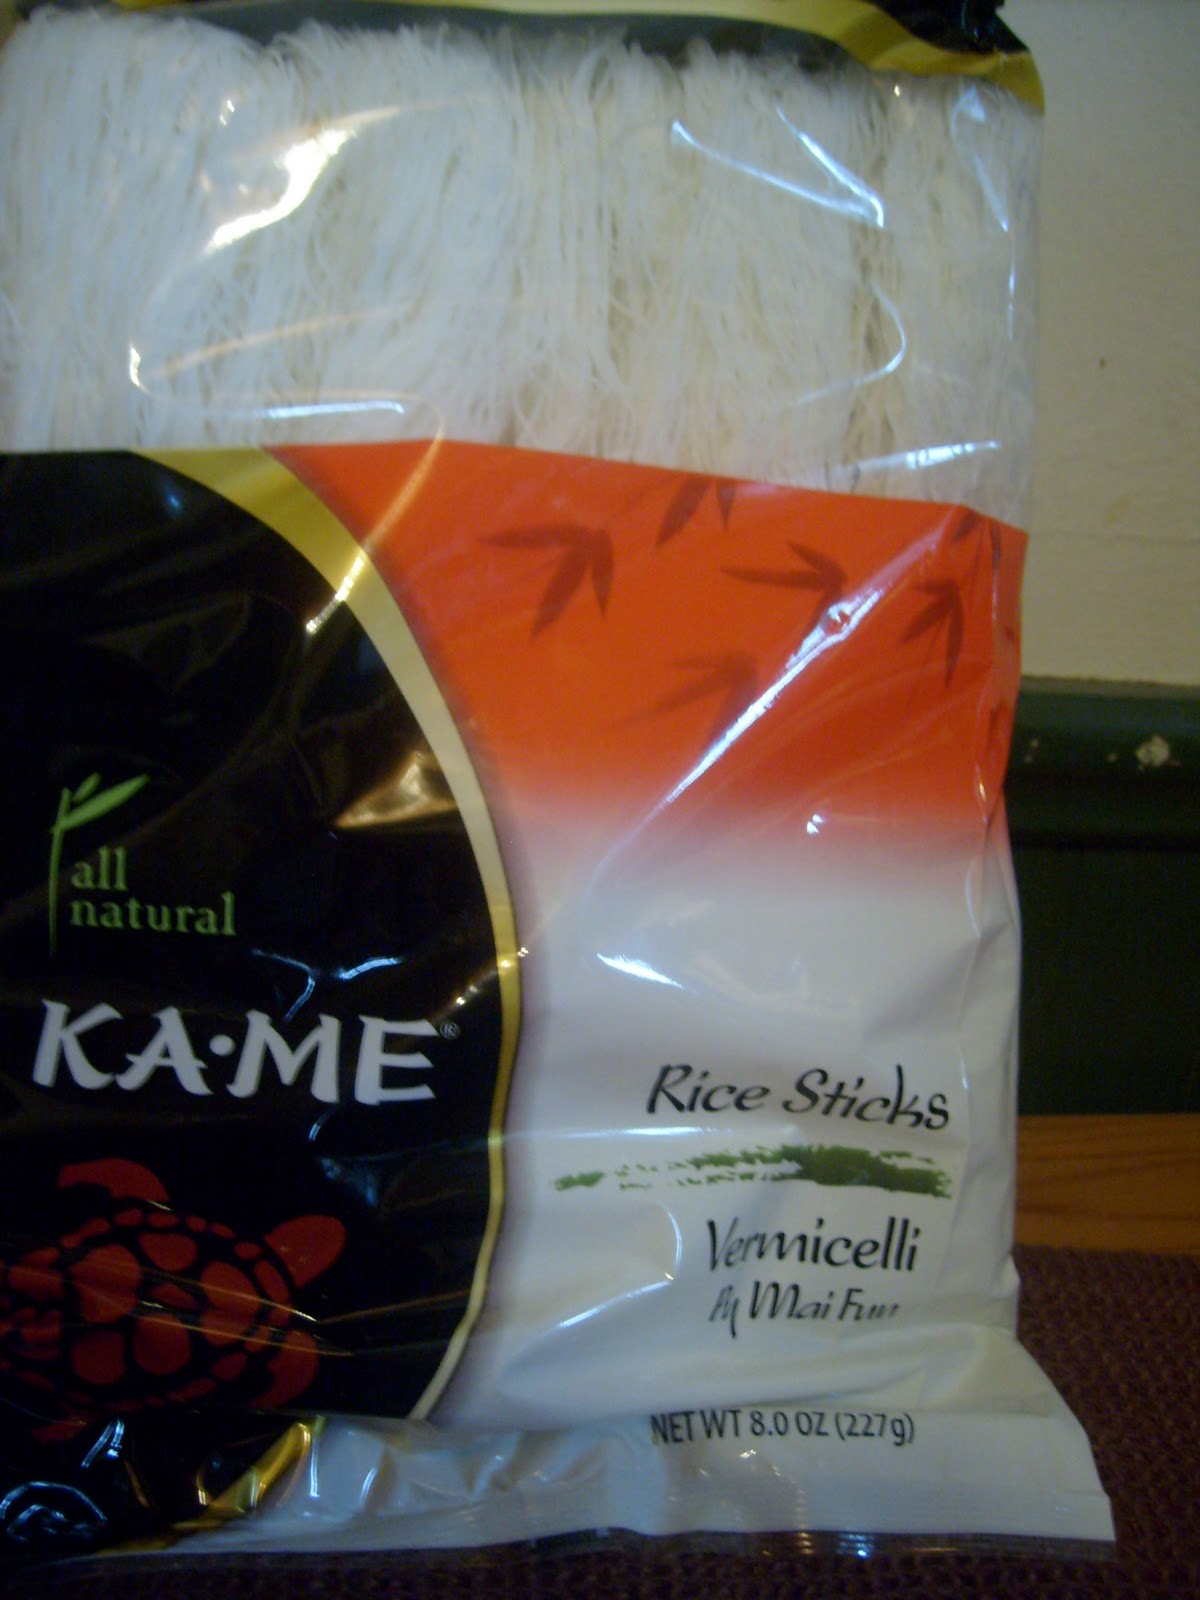
1/2 pound package of rice sticks

To Prepare the Satay
1. Heat the olive oil in a large frying pan over medium heat.
2. When the oil is hot, add the chicken. 
3. Once the chicken has cooked most of the way, add your peppers and onions.  Cook everything until the onions and peppers have started to become translucent!
4. Add the snow peas to the pan and turn the burner to a low heat. 
5. Start boiling a pot of water to cook the rice sticks in.  
6. In a sauce pan, combine the peanut butter, milk, cream of coconut, and peanuts and cook over low heat until everything comes together in a slow simmer. 
7. Cook your rice sticks.
8. Pour the satay sauce over your vegetables and chicken. 
9. Strain the rice sticks and serve! 
Monday, December 13, 2010

Turkey Soup with Stuffing Biscuits

I have a lot of catching up to do on the blog, and I didn't realize how bad it was until I flipped through the pictures I recently uploaded...whoops...I guess I was more distracted than I thought!

I made this the weekend after Thanksgiving with the last of the leftovers. It was pretty easy to make, and went much better than most of my broth based soup attempts! What is great about this recipe, is that you can adapt it to whatever your leftovers consist of, and most of the ingredients are probably already around your kitchen!

Turkey Soup with Stuffing Biscuits 
Yields 6 servings

To Prepare the Soup
1. Wash 1 pound of carrots, and cut them down into 1/4 inch thick rounds. 
2. Wash 2 pieces of celery, and cut them down into 1/4 inch thick slices. 
3. Peel and dice 1 small onion.
4. Once all of your veggies are diced, begin heating 2 tablespoons of olive oil in a large pan over medium heat. 
5. When the oil is hot, add all of the veggies to the pan. 
6. Stir them and cook them until the onions are translucent and the celery is starting to get soft. 
7. Add 4 cans of chicken broth to the pot, and keep the pan over medium heat. 
8. Cut up leftover turkey or chicken.  I put in a large turkey breast, and it was a good amount.  You can add more or less depending on your particular tastes! 
9. I then added leftover wild rice from Thanksgiving dinner.  If you are going to add uncooked noodles, rice, or pasta, you might need to add extra broth to your soup as it cooks, otherwise it will quickly absorb the juice and your soup runs the risk of drying out and burning!  You can also precook it and then add it in like I did. 


10. Make adaptations to your liking...have leftover corn?  Toss it in!  Don't want to add grain?  Don't!  Take a look in your fridge and at your leftovers, and get creative!

To Prepare the Biscuits

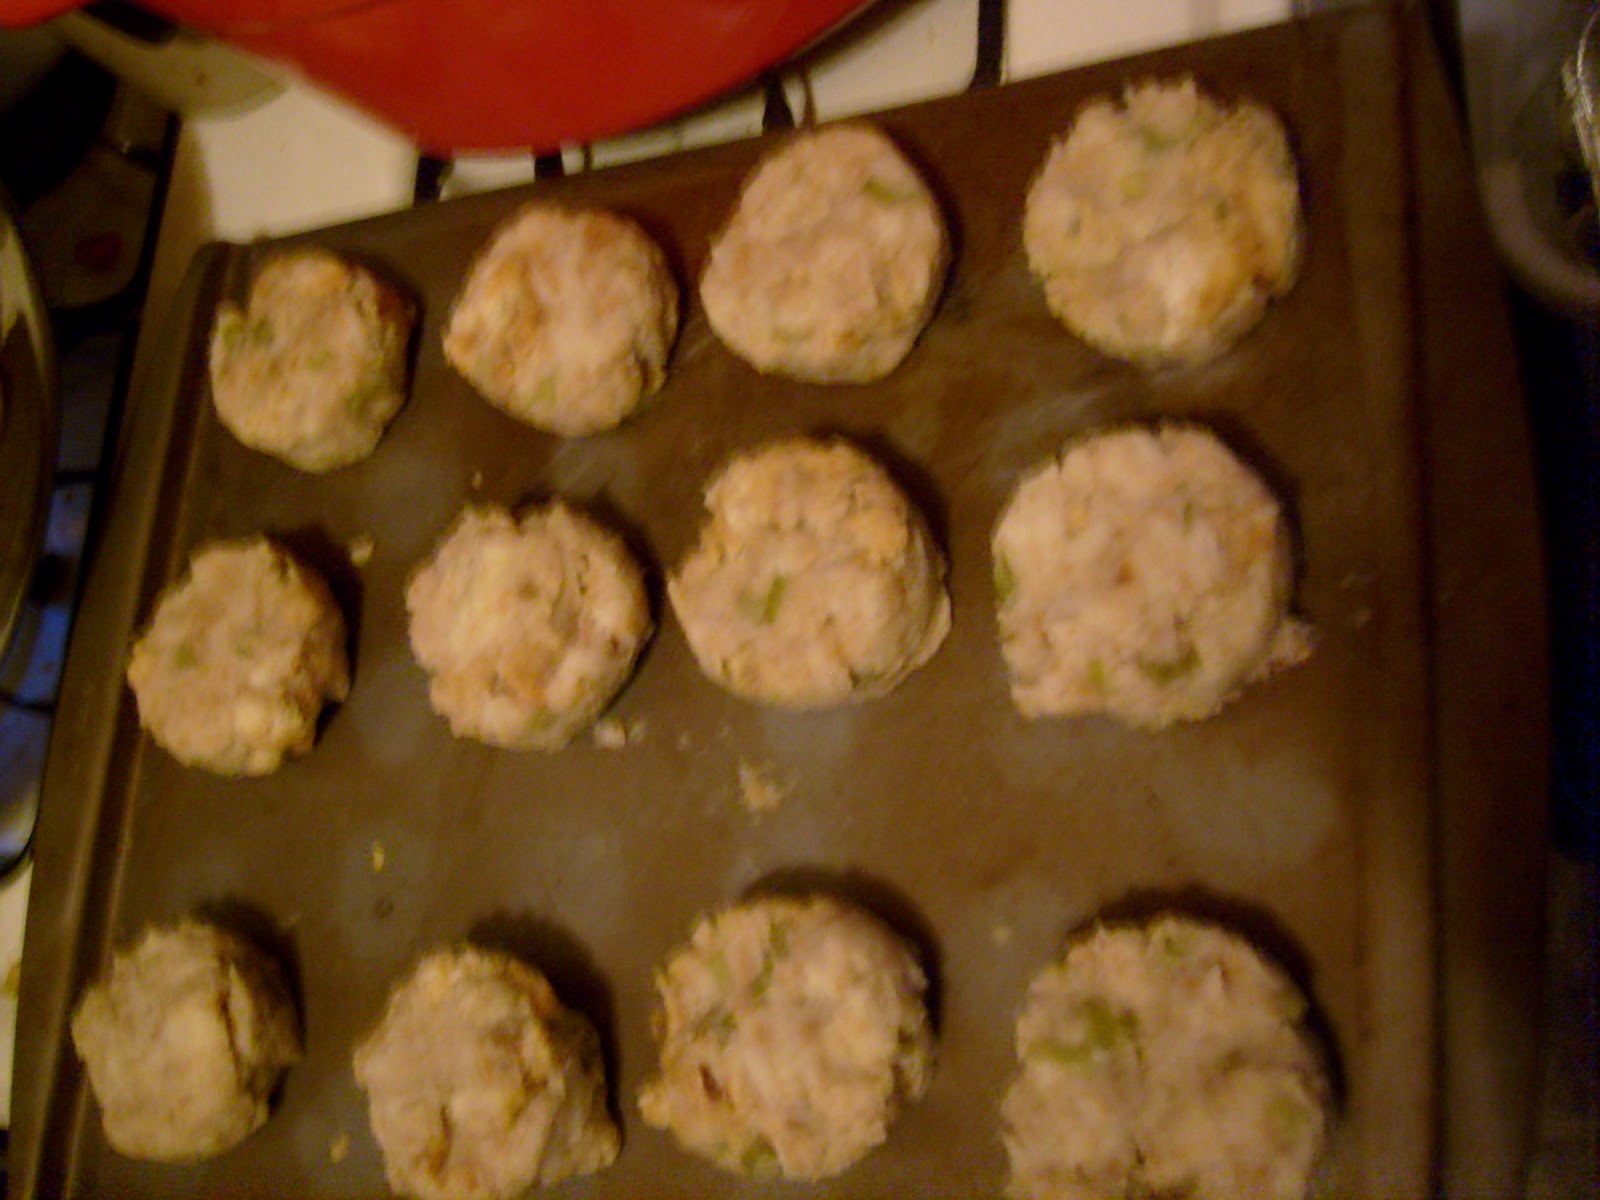
1. On top of a cookie sheet, press leftover stuffing through a round cookie cutter until it is flush with the top of the cutter. 
2. Repeat this step until you are out of stuffing. 
3. Bake in the oven at 350 degrees. 
4. Keep an eye on them while they are cooking.  When the bottoms have started to brown, flip them over and cook them until the other side has browned.  Your cooking time will vary depending on your stuffing, and how moist or dry it is!

These are great for dipping in the soup too! 

Monday, October 18, 2010

Savory Nut Loaf with Cheddar Bechamel Sauce

Oh the infamous nut loaf!  I realized a few years ago that it is a bit of a staple in a lot of vegetarian's diets, and despite that fact, has become a bit of a punch line amongst the meat eating community.  After growing up in a meat and potatoes household, I explored vegetarianism when I went to college (I know, shocking stuff).  I would do ok for a few months, and then retreat back to meat either at Thanksgiving or the 4th of July.  I just cannot resist roasted turkey and juicy burgers!  Despite my weakness for meat, I do still enjoy vegetarian dishes, and usually try to incorporate 1 a week into our dinner menu. The real trick though, is getting my dad and sister to enjoy them.  I tend to run into a lot of problems because my sister HATES lots of vegetables, and my dad, while he will eat just about anything, he is just not very open minded about meals that completely omit meat.  Meatloaf is his favorite dinner, so here's hoping!

Savory Nut Loaf
Yields 6 servings

To Prepare the Nut Loaf
1. Preheat your oven to 350 degrees.
2. Heat 1 tablespoon of olive oil in a frying pan. 
3. Dice 1 small onion, and add it to the frying pan.
4. Dice 1 cup of shitake mushrooms, and add them to the frying pan.  You don't have to use shitakes, but I would avoid the canned mushrooms!  This recipe is a delicate balance of wet and dry, and the moisture will throw your end result!
5. Dice 2 cloves of garlic, or if you are using the pre-diced add 1 tablespoon. Add it to the frying pan.

6. Chop 2 cups of nuts.  I chose cashews and walnuts!  You can either chop them by hand, or you can pulverize them in a food processor.  I went the route of hand chopping, which gives them a texture ranging from sand to small pebble.  If you want more consistency, go with a food processor or magic bullet!  If you suffer from a nut allergy, you could use soy nuts.
7. Pour the chopped nuts into a large mixing bowl.
8. Pour the frying pan mixture in with the nuts once the onions have turned translucent and the mushrooms have started to brown.
9. Add 1 cup of cottage cheese to the bowl.  You can use any cheese you like...don't feel obligated to go this route if you don't like it!  If you would like to make this recipe vegan, you can use a vegan cheese! 
10. Add 2 cups brown rice to the bowl.
11. Add 2 large eggs to the bowl, and mix everything together well!
12. Spray a loaf pan with non-stick cooking spray, or grease it with a little butter.
13. Pour the mixture from the bowl, into the greased loaf pan.  Even out the top of the loaf mix and place it in the oven.
14. Bake the loaf for approximately 1 hour, until the loaf is firm and golden brown!

To Prepare the Bechamel Sauce
1. Melt 2 tablespoons of butter in a small pan.
2. Once the butter is melted, thoroughly mix in 1 tablespoon of flour.
3. Once the butter and flour is bubbling and thick, mix in 1 cup of milk.
4. When the milk has come to a boil, mix in 1 cup of shredded cheddar and mix continually until they cheese is melted and fully incorporated into the sauce!

Thursday, October 14, 2010

Cheesy Turkey Casserole

This is a recipe my mom came up with about 10 years ago the week after Thanksgiving!  After cooking a 50 pound turkey (for 5 people), we had TONS of leftover turkey!  We also had a lot of Wild Rice leftover, too.  All of the leftovers, combined with my mom's need to sneak my brother and sister veggies, brought this recipe to life!


Cheesy Turkey Casserole
Yields 6 - 8 servings

To Prepare the Casserole
1. Pre-heat your oven to 350 degrees. 
2. Prepare 2 boxes of Uncle Ben's Wild Rice per the directions on the box.
3. While the rice is cooking, pan sear approximately 1 pound of turkey in olive oil over medium heat.  You could also use chicken, or even ground turkey or chicken...just be sure, whichever you choose, that you cook it!  If you are using leftover turkey or chicken, you will just need to break it up into 1 inch pieces!
4. Pour the rice into a large casserole dish, and spread it out evenly. 
5. Next you will need to prepare 2 1/2 pounds of broccoli.  I used chopped frozen broccoli that I thawed.  If you are going to use fresh broccoli, you will need to boil it first!  Once your broccoli is either defrosted or cooked, spread it evenly across the rice!
6. Spread the meat evenly on top of the broccoli layer.
7. Top the whole casserole with 1 pound of sharp cheddar cheese.
8. Bake the casserole for approximately 30 minutes or until the cheese is melted and golden brown!

Friday, September 24, 2010

Hand Grenades

My great grandfather (on my mom's paternal side) was what I guess you could classify as a "character".  He always kept us guessing, watching out for his next prank or joke, and always had a quick comeback when ever we thought we were finally going to get the best of him.  You can only imagine my confused little kid face when he announced that we were eating hand grenades for dinner!  Now, at this point in my life, I had watched a few episodes of MASH, and I knew what a hand grenade did...let us just leave it at this dish gets its name because it...uhhh errr...has a similar effect on one's digestive tract.  As for the origins of this dish, there is some controversy, mainly because Europe, in its entirety, would like to take individual credit...Poland, Hungary, Germany, Sweeden...you get the point, and know what countries are in Europe!  In the end, my dad, sister, and brother wait for fall with baited breath, knowing that hand grenades will come out of the oven with in the first few cool weeks.  As irony would have it, it is miserably hot out, for fall, today and I type this as I sit in front of the air conditioner with the cat! 

Vinnie loves to help cook...especially if there are veggies involved!  Don't worry...his paws aren't in the food...he just likes to watch and try to steal veggies!
My great grandpa and my brother...circa 1991!

Hand Grenades
Yields 5 servings

To Prepare the Cabbage
1. Carefully peel whole leaves off of a savoy cabbage.  The leaves will break off at the stem with a little force! I like using savoy cabbage because, unlike the green cabbage, it does not need to be cooked before making the actual rolls.  This type of cabbage can be found at your local grocery store.  It is green, but has a more pliable leaf that has a lot of texture to it!

2. Wash the leaves and pat them dry with some papertowels.

To Prepare the Beef and Rice 
1. Make a large box of white quick rice.
2. While the rice is cooking, add 2 pounds of ground beef to a bowl.  If you do not want to use beef, ground pork and chicken work well with this recipe!
3. When the rice is done cooking, add 2 cups of it to the beef.

4. Mix the beef and rice together, carefully, as the rice is still hot!  I am not liable for burnt fingers hehe!
5. Leave the left over rice in the pot with the lid on, as it will be what the cabbage rolls are served on!

To Finish the Dish
1. Pour 1 jar of your favorite pasta sauce into a large casserole dish.

2. Lay out cabbage leaf so it resembles the shape of a bowl, with the veiny end closest to you.
3. Make a large meatball (2-3 inches in diameter).
4. Place the meatball in the stiff, veiny end of the cabbage and roll the cabbage over it until the cabbage is touching cabbage again.

5. Fold in both sides of the cabbage, and continue rolling it the rest of the way closed.

6. Place it in the casserole dish.  Continue with this process until you have run out of beef!  If you do not like cabbage, or have company that will be joining you for dinner that does not like cabbage, you can make regular sized meatballs out of the meat and rice mixture.  Our family calls these porcupine balls!

7. Once all of the rolls are in the casserole, cover them with another jar of sauce.

8. Bake them in the oven at 350 degrees.

When you are ready to eat, serve 2 or 3 rolls over some of the rice.  Be sure to get some of the sauce out of the pan and spoon more over the top!

Monday, September 20, 2010

Tropical Chicken over Brown Rice

There is a school of thought (and some research to support it) that says we should eat by color.  The theory behind this is that the more colorful our plates are, the more vitamins and minerals we are getting.  Part of the reason I love making this dish is because of how colorful it is!   It is also full of lots of vitamins and minerals, and is a great meal if you are not a fan of vegetables, but want the benefits of eating them!  This recipe cooks up really fast (about 15 minutes), and is great if you are on the run!  If you are more interested in the whole eating by color movement, I have attached a link.  I have to admit that I, personally, think it makes sense, and makes for some interesting reading!  It may even encourage you to pile up some extra greens, reds, yellows, oranges, and purples on your plate!   Eating By Color

Tropical Chicken over Brown Rice 
Yields 6 servings

To Prepare the Chicken
1. Heat 2 tablespoons of olive oil in a large frying pan. 
2. Cut 3/4 pound of boneless, skinless chicken breast tenderloins into 1 inch long pieces.
3. Add the chicken to the frying pan and cook over medium heat.

4. While the chicken is cooking, slice two green bell peppers into strips. 
5. Add the bell pepper strips to the chicken.

6. Cook the chicken and peppers until the chicken is thoroughly cooked.
7. Add a jar of tropical fruit medley (drained of its juices) to the frying pan.  I personally like to use Dole's Tropical Mix.  It has a lot of great fruit in it (papaya, mango, pineapple, etc)!  The jar is about 24 ounces of fruit!

8. Add approximately 10 ounces of sauce.  Tonight I used an orange ginger sauce, other times I will use a sweet and sour sauce...it depends on what is on sale when I go down the Asian aisle at the grocery store!  In general, anything orange or sweet and sour in flavor will work with this recipe!

9. While the chicken mixture is cooking for a little bit longer, make your rice. 
Served along side homemade pickled beets!
Related Posts Plugin for WordPress, Blogger...