Showing posts with label Broccoli. Show all posts

Wednesday, August 17, 2011

Grilled Calzones

Cutting Board Wednesday is upon us yet again, and this week I am attacking re-thinking some favorite Italian style fare!  My Italian genes run deep and I just can't let go of my favorite foods, so I have been trying to find new ways to cook and substitute ingredients in some of my favorite dishes to make them a little healthierThanks to the folks in the advertising department at Pizza Hut, I have been craving a P'Zone (aka calzone) like a drunken college kid at 2 am on a 3 day weekend bender.  Thanks to the almighty grill and a filling change I was able to satiate my craving!  I opted for a grilled crust, as opposed to deep fried, chose lean grilled chicken breast, cheddar, and broccoli for my fillings, and decided to nix the sauce.  A light sauce, turkey pepperoni, and skim cheese would work too for the traditionalists out there! Get creative with your fillings and make it to suit your tastes - this recipe's fillings are just a suggestion, so have fun with it!  You can also bake your calzone if you are not the grilling type or the weather just does not want to permit it!


Grilled Calzones 
Yields 3 large calzones

Ingredients 

Crust 
This recipe is the Kitchen Aid Crispy Pizza Crust recipe.  If you do not want to make your own crust, you could use a pre-made plain crust from your local grocery store, or you can buy pre-made pizza dough in a bag, which is usually found near the deli counter at the grocery store!  Pillsbury also has great crusts which can be found near their biscuits and rolls in the refrigerated section of the grocery store! If you decide to use a crust such as Pillsbury, you will need 1 crust for each calzone you intend to make.
1 cup water heated between 110 and 115 degrees Fahrenheit
2 1/4 tsp yeast
1/2 tsp salt
2 tsp olive oil
2 1/2 - 3 1/2 cups flour  

Toppings 
3 boneless, skinless chicken breasts
2 cups shredded cheddar
1 broccoli crown, cleaned and chopped (or 1 small bag of frozen broccoli, thawed)

You will also need aluminum foil for the grill!


To Prepare the Crust
1. Heat the water between 110 and 115 degrees.
2. Pour the yeast and water in a bowl or mixer, and gently mix them together.
3. Add the salt and olive oil to the bowl and gently mix.
4. Add the flour, starting with 2 1/2 cups, and adding no more flour than 3 1/2 cups total.  The dough should stick together in a ball and still be slightly sticky when there is just enough flour added!
5. Coat a bowl with olive oil and place the dough ball in the bowl, turning it until the entire dough ball is coated with a thin layer of oil.
6. Cover the bowl with saran wrap and place it in a warm place that is free of drafts.
7. Let the dough set for an hour, or until it has doubled in size. 

To Prepare the Calzone
1. Prepare your grill by either turning it to a high setting, or getting the coals nice and hot.  If you plan on baking your calzone, pre-heat your oven to 350 degrees. 
2. While your grill is heating, cut three pieces of aluminum foil that are each approximately 1 foot long, and split your dough into 3 equal parts, with each piece of dough going onto a piece of foil.  To keep your calzone from sticking to the foil after cooking, sprinkle some corn meal on the foil!  If you are baking your calzones, you can use a baking sheet with some parchment paper. 
3. Throw your chicken on the grill and cook it until it is almost cooked all of the way through.  Keep in mind that it will be going back on the grill or in the oven, and you will not want it to dry out!  When it is done cooking, cut it into strips or cubes. 
4. Spread the dough into a circle by pressing from the inside of the dough ball out with the palm of your hand.
5. When you are happy with the size and thickness of your crust, fill one half of the circle with fillings, and then gently pull the empty half of the circle over the toppings and press the edge of the calzone shut.
5. Turn down your grill to a low setting, or take the lid off for a few minutes.
6. Carry each of your calzones to the grill by carrying it from opposite corners of the foil, and gently place it down on the grill.
7. Once all of your calzones are on the grill, cover them and let them cook for approximately 10 minutes, or until the bottom of the crust is firm and brown, and the top is firm and cooked through.  The foil will stick just a little bit, so be sure you get all of it off before enjoying your meal!  A little corn meal on the bottom of the crust will greatly help prevent this!  If you are baking them, cook them until the dough is firm and begins to turn golden brown. 

Monday, February 21, 2011

Vegetable Puffs

Another Meatless Monday has come and gone! 

I wanted something different this week that was not going to be a production, and considering how much we have been going out to eat, I definitely wanted to kick up the healthy factor!  What I really loved about making this dinner was all of the beautiful and rich colored foods that go into it - it was a real pick me up for a gloomy day!  This recipe makes 6 thick slices if you are serving them along side something else, but if you are eating them on their own, I would say it makes 3 generous servings.

I was also beyond excited at the grocery store when I came across two new products that helped this dish along - Philadelphia Cream Cheese Cooking Cream and Pillsbury Seamless Crescent Roll Dough!   So with that being said, let's get to the recipe and pictures!

Vegetable Puffs
Yields 6 hearty slices

Ingredients 
1 large red bell pepper, seeded and chopped
1 broccoli crown, chopped
1 large carrot, peeled and chopped
1 small onion, peeled and diced
1 can of black beans, drained and rinsed
6 ounces of spinach leaves
10 ounce container of Philly Cooking Cream in the Italian Herb and Cheese Flavor
2 rolls of Pillsbury Seamless Crescent Dough

To Prepare the Puffs
1. Pre-heat the oven to 350 degrees.  
2. Pour the bell peppers, broccoli, carrots, onions, and black beans into a large skilled over medium heat. 
3. After approximately 10 minutes of cooking, add the spinach.  It will look like A LOT of food, but the spinach will cook down quite a bit! 
4. Cook for approximately 10 more minutes, being sure to stir it often. 
5. Add the cooking cream, and coat the veggies completely.
6. Shut the vegetables off. 
7. Spread out one of the crescent dough sheets on a piece of parchment paper on a baking sheet.
8. Spoon the vegetable mixture onto the dough, being sure to leave a one inch border. 
9. After all of the vegetables or spooned on, fold the dough up onto the veggies to create an edge or barrier.
10. Place the other dough sheet on top of the vegetables, and tuck and pinch it under the puff. 
11. Bake the puff at 350 degrees until it is a deep golden brown color!
 

Tuesday, February 1, 2011

Just Another Meatless Monday

My grandfather always tells me to K.I.S.S. - Keep it simple, stupid!

The kitchen is the one place where I seem to forget that nice little acronym...

I should probably start by explaining that I come from a meat and potatoes family.  We have always had meat of some sort, a veggie, and a grain or potato at every single meal for most of my life.  There were, of course, rare exceptions.  I also had my attempts at vegetarianism while I was in college.  For me it was never about the cruelty of killing the animal, but more so about the fact that I really do not enjoy eating meat.  Call me crazy if you must, but I hate steak and I hate seafood!  Every time I tried to become a vegetarian I would do well until one of two events struck - Thanksgiving and 4th of July.  I just cannot turn down turkey and juicy burgers!  A one day slip would turn into a landslide of meat no matter how hard I tried to find my way back to the vegetarian path. 

Not having much experience with vegetarian dishes, I have viewed Meatless Mondays as a bit of a challenge.  The only exposure I ever really had to vegetarian meals was in college.  I attended a college that really put forth an effort in making appealing vegetarian meals and even had a vegetarian food line.  For those that were not vegetarian, the food was there to be played with while they waited for their turn in the sandwich line - I think it reminded people of play-dough sometimes!  Another reason I view Meatless Monday as a challenge is partially because I always feel like I need to present a completed "traditional" meal.  I also always feel like cooking should consist of a certain amount of work.  This week my dad and sister proved me otherwise...

While writing my grocery list on Saturdays, I always ask "Is there anything in particular you guys want for dinner this week?"  Normally I get groans and stares and they tell me to do what I want.  This week my dad actually chimed in with a request!  While writing my menu and list I was still pondering over Monday's meatless meal.  When my dad mentioned baked potatoes this thought hit me - there are so many meals that I make throughout the year that don't have meat in them that my family enjoys so much!  I quickly realized that I could swap out what little meat I do use in my Loaded Baked Potatoes and use that as a vegetarian meal.  Last week my sister's suggestion of an Ultimate Garden Salad was pretty straight forward, too. 

I have to sit back and wonder why I sometimes make simple things like that so difficult for myself.  I don't know if I just get caught up in the cooking and planning process, or if it is about enjoying the challenge.  What I have realized though is that sometimes there is an easy, yet delicious way out!  As much as I love being in the kitchen, sometimes I like an easy way out meal, too!  I cannot begin to tell you how much I enjoyed throwing the potatoes in the microwave and just heating up a few things on the stove top - what can I say, sometimes a girl just needs a break! 

For our baked potatoes, we enjoyed toppings that included cheddar cheese, onions, sour cream, broccoli, vegetarian chili, and Bacon Bits.  I should probably point out here that Bacon Bits are not actually meat, but rather, soy!  Sorry if I ruined them for you! 

What did I learn this week?  Despite the fact that I should K.I.S.S., my mind is already revolving around what next Monday's dinner will be!  I think after two weeks of vegetarian gone easy, I might need to pull out a showstopper next week...

Thursday, October 14, 2010

Cheesy Turkey Casserole

This is a recipe my mom came up with about 10 years ago the week after Thanksgiving!  After cooking a 50 pound turkey (for 5 people), we had TONS of leftover turkey!  We also had a lot of Wild Rice leftover, too.  All of the leftovers, combined with my mom's need to sneak my brother and sister veggies, brought this recipe to life!


Cheesy Turkey Casserole
Yields 6 - 8 servings

To Prepare the Casserole
1. Pre-heat your oven to 350 degrees. 
2. Prepare 2 boxes of Uncle Ben's Wild Rice per the directions on the box.
3. While the rice is cooking, pan sear approximately 1 pound of turkey in olive oil over medium heat.  You could also use chicken, or even ground turkey or chicken...just be sure, whichever you choose, that you cook it!  If you are using leftover turkey or chicken, you will just need to break it up into 1 inch pieces!
4. Pour the rice into a large casserole dish, and spread it out evenly. 
5. Next you will need to prepare 2 1/2 pounds of broccoli.  I used chopped frozen broccoli that I thawed.  If you are going to use fresh broccoli, you will need to boil it first!  Once your broccoli is either defrosted or cooked, spread it evenly across the rice!
6. Spread the meat evenly on top of the broccoli layer.
7. Top the whole casserole with 1 pound of sharp cheddar cheese.
8. Bake the casserole for approximately 30 minutes or until the cheese is melted and golden brown!

Thursday, October 7, 2010

Broccoli Rabe

I am somewhat ashamed to admit a few facts today...the first being that before today, I never had broccoli rabe before.  If you are Italian, and live in the Philadelphia area, you can understand how I have managed to bring shame and dishonor to my family by admitting this fact publicly.  The second fact is, I was not crazy about the flavor of the rabe.  Tonight's dinner/recipe taught me that this is a bit of an acquired taste, or needs to be seasoned a little differently if you don't like fairly straight forward rabe!  Rabe has a very strong bitter flavor! 

I served my rabe along side meatloaf and mashed potatoes, but I have seen it served a lot of different ways - as a cheesesteak topping, on chicken or beef sandwiches or wraps, over pasta, in soups - the possibilities are endless!

I think next time I make this I might pan sear it with a little bacon instead of olive oil.  The salt and bacon flavor would play nicely with the rabe flavor, and ease some of the bitterness...that's my theory and I'm stickin' to it!

Broccoli Rabe 
Yields 4 servings


To Prepare Broccoli Rabe 
1. Heat 4 tablespoons of olive oil in a large skillet.
2. Prepare one bundle of rabe.  Go through the leaves and make sure there are no insects, slimy bits, or rotten bits.  Once you have done this cut the rabe stem ends off, and then cut the rest of the rabe into 2 inch long pieces.
3. Wash the rabe.
4. Once the oil is hot, put the rabe in the pan. This is going to look like a TON of rabe, but it is going to cook down quite a bit!
5. Chop two cloves of garlic and add them to the pan.  If you are using pre-chopped garlic, add 1 tablespoon!
6. Cook over medium heat.  Once the broccoli rabe is tender, add salt and pepper to taste!

Tuesday, September 14, 2010

Teriyaki Beef and Broccoli over Brown Rice

Oh fungus, how you love to sneak up on me when I least expect it!  I was beyond excited to make tonight's dinner.  My mouth had been watering for days in anticipation, so you can only imagine my disappointment when I opened the bag of broccoli and found that it had started to look more like a biology lab petri dish!   I had to modify what we were having for dinner tonight, but I still wanted to give all of you the original recipe with directions!  All of the pictures are here (sans the broccoli), but we ended up having french cut green beans with our meal instead.  I hope that the blanching technique I discuss with the broccoli prep helps some of you out!  Blanching is a great way to cook your veggies, but also keeps their bright healthy color, and also helps keep some of their crunchy texture so they don't taste like mush!  You can use this technique with lots of veggies! 

To Prepare the Beef
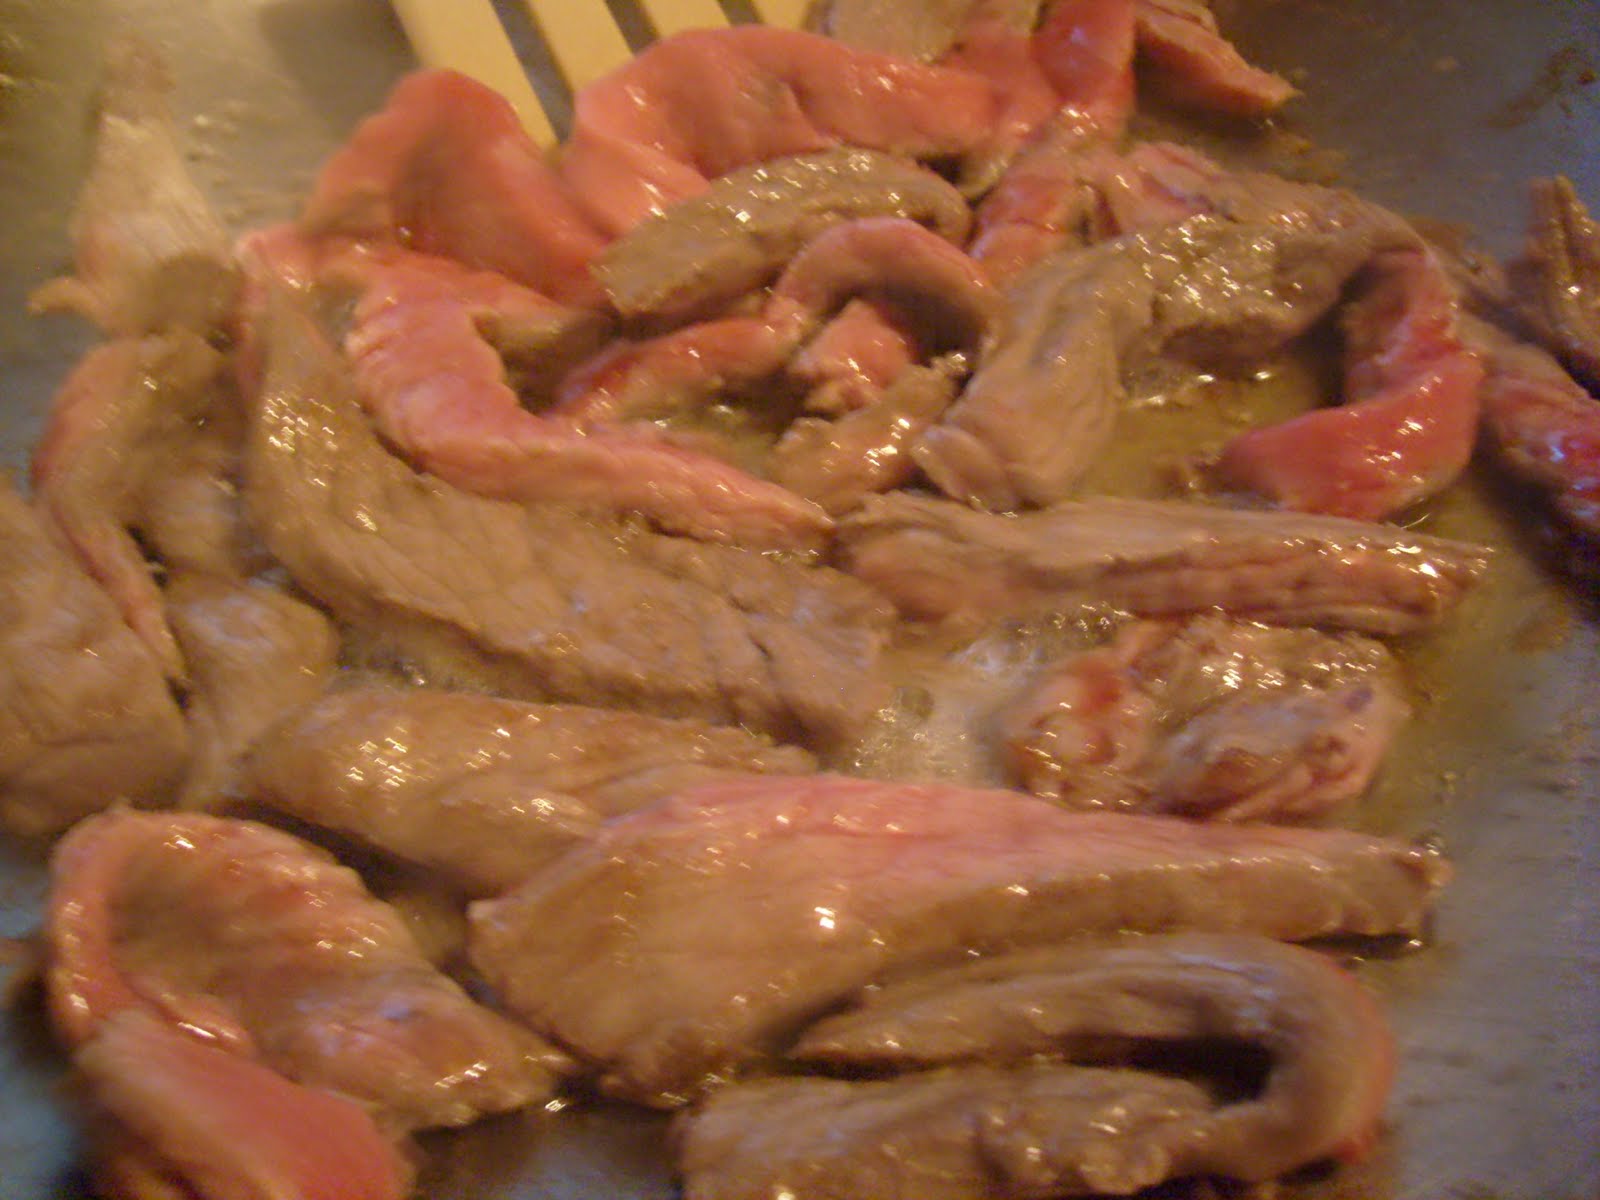
1. Heat a few tablespoons of olive oil in a frying pan over medium heat.
2. One the oil is hot, add 3/4 pounds of lean beef.  I like to use the strip cut london broil.  Most grocery stores now label this as "stir fry" meat directly on the packaging.  If you don't want to use this, stew meat (the cubed stuff) works great too!

3. Continue to cook the meat over medium heat while you start preparing your broccoli!

To Prepare the Broccoli
1. Bring a large pot of water to boil.
2. While you are waiting for the water to boil, cut 1 pound of broccoli stems down to a length that you like (cut them close to the broccoli flower if you don't like stems, or cut them farther down the stem if you like eating the stems).  Remember, YOU are the one eating, so make it to YOUR liking!  Also make sure you remove any rouge leaves from the stems and flowers! 
3. Make a large bowl of ice water, and set it aside.
4. You are going to boil the broccoli for just a minute or two (depending on how much you are cooking).
5. Once the broccoli has cooked for a minute, drain it and put it in the ice water.  This whole process is called blanching.  One of the many reasons people do not like broccoli is because, generally, when we order it from a restaurant or make it on our own, it loses its bright green color and is mushy and floppy!  Blanching will cook the broccoli enough to make it a little softer, but also helps it keep its great color, and a little crunchiness!

To Finish Preparing 
1. Add the blanched broccoli to the pan with the beef. The broccoli will finish cooking in this pan!
2. Add a 10 ounce bottle of teriyaki sauce to the pan and stir well!  This is going to look like a lot of sauce in my picture, but when you add the broccoli it will hold a lot of the sauce in the flowers!  I went with La Choy's, mainly because it was on mega sale at my grocery store, but also because their products are reliable and rarely change!

3. While this is all cooking together, make your brown rice!
I so did not want to be enjoying this with canned green beans! :-P
Related Posts Plugin for WordPress, Blogger...