Showing posts with label Pepper. Show all posts

Sunday, July 31, 2011

Grilled Beer and Steak Pizzas

Nothin' like some steak and beer...hot off the grill!

I've been reading about the wonder that is grilled pizza for some time now in magazines and on the internet, and just couldn't wrap my head around the concept and how it would taste.  Today I bit the bullet, and fell in love!

I stewed over several kinds of pizza ideas and was leaning towards a steak direction.  I didn't want to go the route of Philly Cheesesteak - living near Philly I find it is something I can almost get sick of.  I started to think of other foods that are commonly seen paired with steak - potatoes, corn, salad...

Then it hit me - I had Sam Adams Cream Stout sitting in my fridge!  Beer and Steak - there are not many more perfect combinations I can think of!

We DEVOURED these, and could not get enough!  The crusts on these are like nothing I have had before!  Because of the fire on the grill, they get slightly charred and so crispy, yet the top of the crust is chewy.  I see many more of these in my immediate future!

You will need a knife for this pizza - consider yourselves warned! 


Grilled Beer and Steak Pizza
Yields 3 personal sized pizzas

Ingredients 

Crust 
This recipe is an adaptation of the Kitchen Aid Crispy Pizza Crust recipe.  If you do not want to make your own crust, you could use a pre-made plain crust from your local grocery store, or you can buy pre-made pizza dough in a bag, which is usually found near the deli counter at the grocery store! Pillsbury also makes a great rolled dough which is available in the refrigerated area of the grocery store near the biscuits and rolls!
1 cup stout beer heated between 110 and 115 degrees Fahrenheit
2 1/4 tsp yeast
1/2 tsp salt
2 tsp olive oil
2 1/2 - 3 1/2 cups flour  

Toppings 
1/2 pound thinly sliced roast beef, chopped
1/4 pound sliced gouda, chopped
1 small red onion, cut into rings or half moons
1 medium green bell pepper, cut into thin strips
1 medium tomato, diced
2 cups romaine lettuce, chopped

You will also need aluminum foil for the grill!


To Prepare the Crust
1. Heat the beer between 110 and 115 degrees.
2. Pour the yeast and beer in a bowl or mixer, and gently mix them together.
3. Add the salt and olive oil to the bowl and gently mix.
4. Add the flour, starting with 2 1/2 cups, and adding no more flour than 3 1/2 cups total.  Add the flour until the dough sticks together in a ball and is slightly sticky!
5. Coat a bowl with olive oil and place the dough ball in the bowl, turning it until the entire dough ball is coated with a thin layer of oil.
6. Cover the bowl with saran wrap and place it in a warm place that is free of drafts.
7. Let the dough set for an hour, or until it has doubled in size. 
8. When you are ready to work the dough, be sure to punch it down! 

To Prepare the Pizza
1. Prepare your grill by either turning it to a high setting, or getting the coals nice and hot.
2. While your grill is heating, cut three pieces of aluminum foil that are each approximately 1 foot long, and split your pizza dough into 3 equal parts, with each piece of dough going onto a piece of foil.  To keep your pizza from sticking to the foil after cooking, sprinkle some corn meal on the foil!  
3. Spread the dough into a circle by pressing from the inside of the dough ball out with the palm of your hand.
4. When you are happy with the size and thickness of your crust, pile on the toppings of your choosing - EXCEPT for the lettuce.
5. Turn down your grill to a low setting, or take the lid off for a few minutes.
6. Carry each of your pizzas to the grill by carrying it from opposite corners of the foil, and gently place it down on the grill.
7. Once all of your pizzas are on the grill, cover them and let them cook for approximately 10 minutes, or until the bottom of the crust is firm and brown, and the top is firm and cooked through.  The foil will stick just a little bit, so be sure you get all of it off before enjoying your meal!  A little corn meal on the bottom of the crust will greatly help prevent this!  
8. When your pizza comes off the grill, top it with a handful of romaine!

Monday, February 21, 2011

Vegetable Puffs

Another Meatless Monday has come and gone! 

I wanted something different this week that was not going to be a production, and considering how much we have been going out to eat, I definitely wanted to kick up the healthy factor!  What I really loved about making this dinner was all of the beautiful and rich colored foods that go into it - it was a real pick me up for a gloomy day!  This recipe makes 6 thick slices if you are serving them along side something else, but if you are eating them on their own, I would say it makes 3 generous servings.

I was also beyond excited at the grocery store when I came across two new products that helped this dish along - Philadelphia Cream Cheese Cooking Cream and Pillsbury Seamless Crescent Roll Dough!   So with that being said, let's get to the recipe and pictures!

Vegetable Puffs
Yields 6 hearty slices

Ingredients 
1 large red bell pepper, seeded and chopped
1 broccoli crown, chopped
1 large carrot, peeled and chopped
1 small onion, peeled and diced
1 can of black beans, drained and rinsed
6 ounces of spinach leaves
10 ounce container of Philly Cooking Cream in the Italian Herb and Cheese Flavor
2 rolls of Pillsbury Seamless Crescent Dough

To Prepare the Puffs
1. Pre-heat the oven to 350 degrees.  
2. Pour the bell peppers, broccoli, carrots, onions, and black beans into a large skilled over medium heat. 
3. After approximately 10 minutes of cooking, add the spinach.  It will look like A LOT of food, but the spinach will cook down quite a bit! 
4. Cook for approximately 10 more minutes, being sure to stir it often. 
5. Add the cooking cream, and coat the veggies completely.
6. Shut the vegetables off. 
7. Spread out one of the crescent dough sheets on a piece of parchment paper on a baking sheet.
8. Spoon the vegetable mixture onto the dough, being sure to leave a one inch border. 
9. After all of the vegetables or spooned on, fold the dough up onto the veggies to create an edge or barrier.
10. Place the other dough sheet on top of the vegetables, and tuck and pinch it under the puff. 
11. Bake the puff at 350 degrees until it is a deep golden brown color!
 

Wednesday, February 2, 2011

Peanut Butter Chicken Satay

In a humble city named New York, there is a restaurant I have been DYING to visit.  For a few years now, I always plan on going during my trips into Manhattan, but have not managed to get there yet.  Thankfully Peanut Butter & Co has started selling most of their no-stir natural peanut butters in most major grocery store chains!  Check out the link to see the PBJ menu from their New York City sandwich shop - prepare yourself for droolage! 

They offer 10 flavors of peanut butter including:
Smoot Operator
Crunch Time
Cinnamon Raisin Swirl
The Heat Is On
White Chocolate Wonderful
Dark Chocolate Dreams
The Bee's Knees
Mighty Maple
Old Fashioned Smooth
Old Fashioned Crunchy

Most of their peanut butters run between $5 and $6, but I tend to find them at the grocery store for about $4.50.  At that price, you can understand the fit of joy I had when I stumbled upon a case of The Heat Is On at my local Christmas Tree Shop for only $2.99!  I had tried the Dark Chocolate Dreams and loved it, so in the cart my spicy peanut butter went!  I couldn't imagine spreading it on a sandwich with jelly, but wasn't quite sure how to use it.  I finally decided on tapping into Asian Cuisine and using it to make a peanut satay sauce.  I do have to admit, it was pretty delicious with a stick of celery, though! 
Please note the "devilish" and silly monkey on the label!  I love this kind of attention to detail!

The Heat Is On has a blend of "fiery" spices that consists of chili powder, cayenne pepper, crushed red pepper, paprika, vinegar, and salt.  I will tell you now, this peanut butter is not for the faint of heart...it is SPIIIIIIICY!  Consider yourselves warned hehe! 

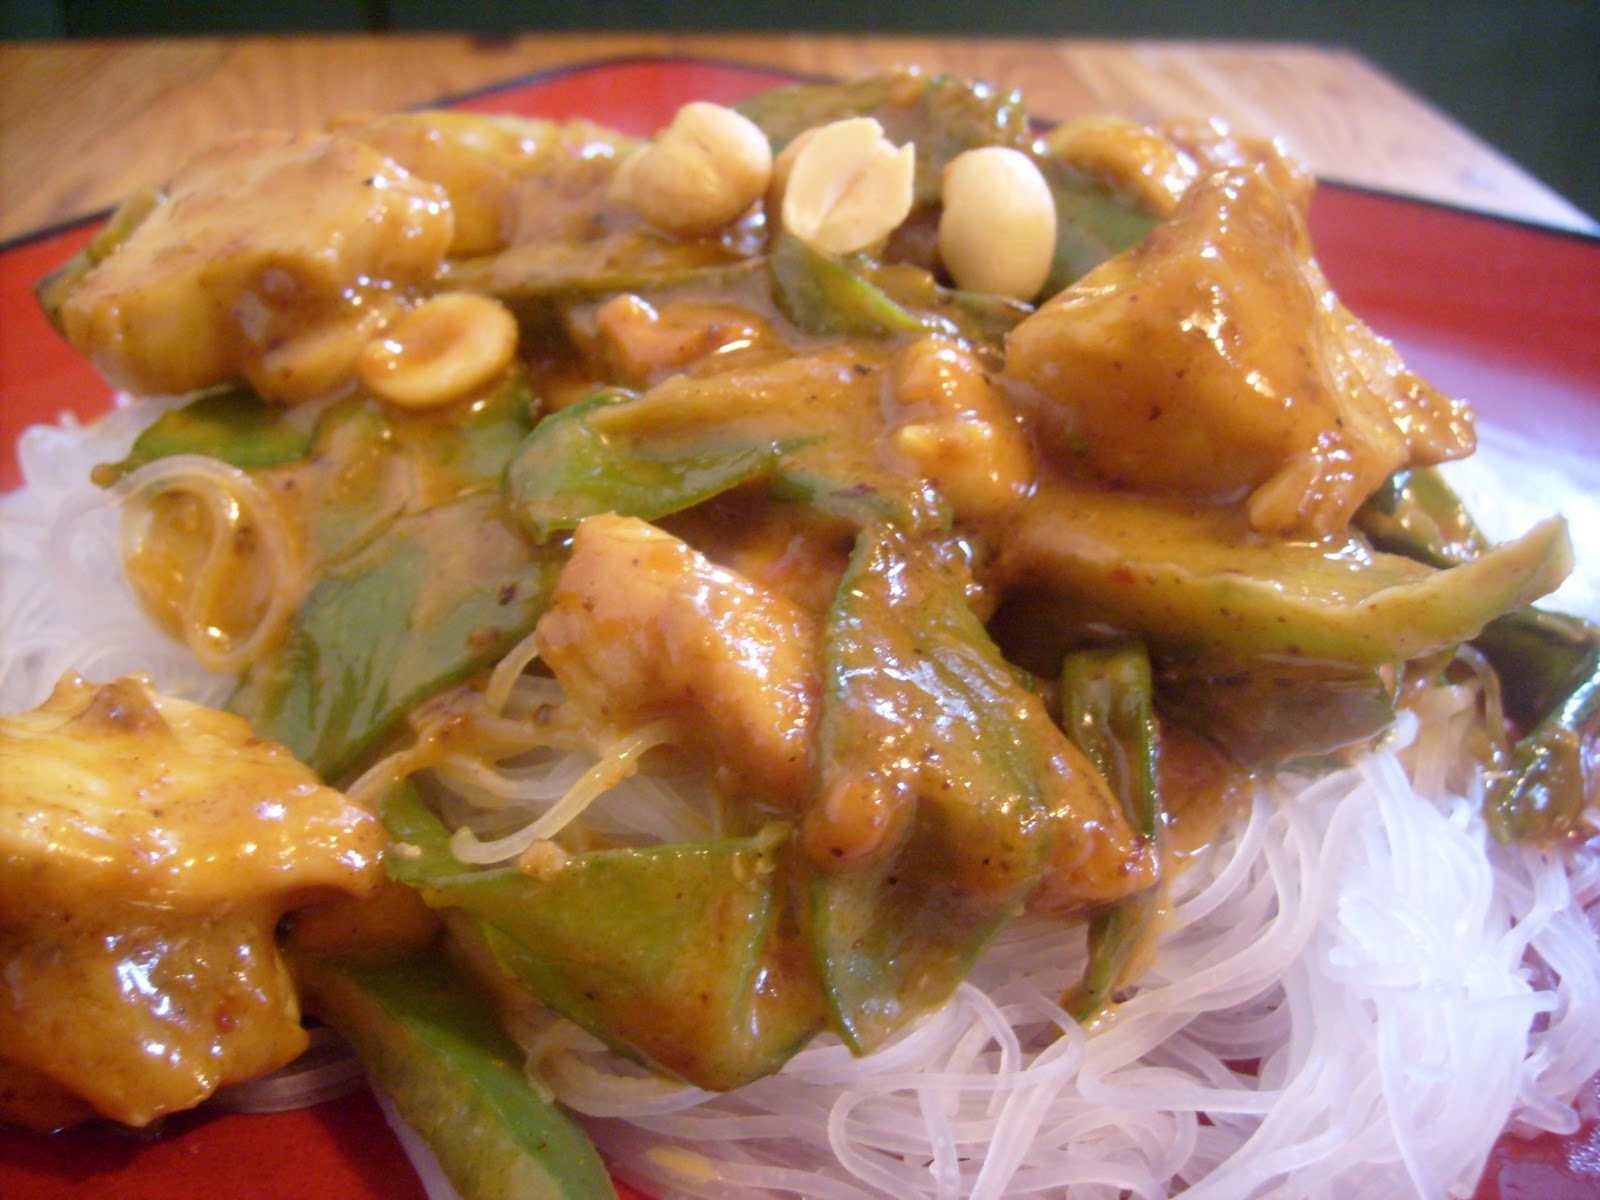
Peanut Butter Chicken Satay
Yields 5 servings

Ingredients
2 tbsp olive oil
1 pound cubed chicken
2 bell peppers, cut into 1/4 inch wide strips
1 small onion, peeled and chopped
1/2 pound snow peas
1/2 cup peanut butter - if you want spicy satay use The Heat Is On or add spices to your peanut butter!
1/2 cup cream of coconut
1/2 cup peanuts
1/4 cup milk
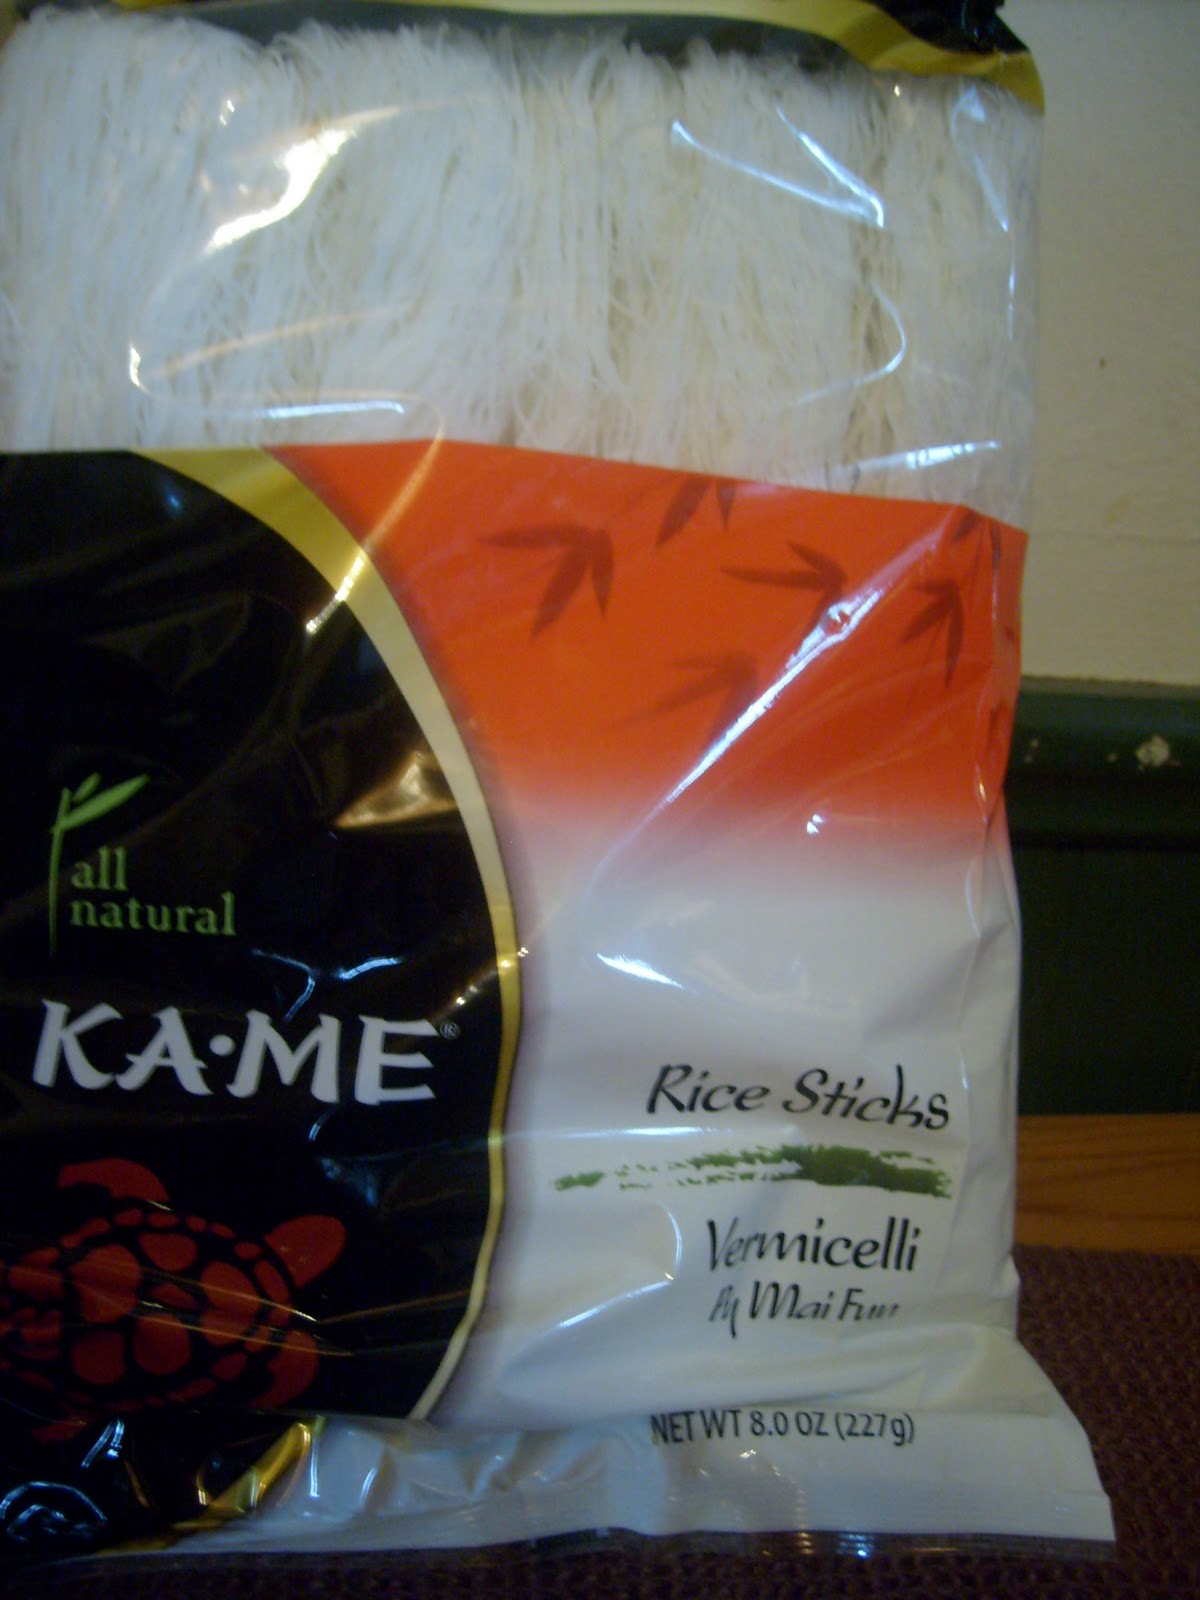
1/2 pound package of rice sticks

To Prepare the Satay
1. Heat the olive oil in a large frying pan over medium heat.
2. When the oil is hot, add the chicken. 
3. Once the chicken has cooked most of the way, add your peppers and onions.  Cook everything until the onions and peppers have started to become translucent!
4. Add the snow peas to the pan and turn the burner to a low heat. 
5. Start boiling a pot of water to cook the rice sticks in.  
6. In a sauce pan, combine the peanut butter, milk, cream of coconut, and peanuts and cook over low heat until everything comes together in a slow simmer. 
7. Cook your rice sticks.
8. Pour the satay sauce over your vegetables and chicken. 
9. Strain the rice sticks and serve! 

Wednesday, September 29, 2010

Chicken Paprikash over Egg Dumplings

For the longest time (aka most of my life), I never got to experience the Hungarian cuisine of my dad's childhood!  His father, a Hungarian to the core, loved the traditional dishes of the motherland, but unfortunately, with his untimely death in the early '80s, we lost most of the recipes.  He notoriously did not write down recipes or share all of the ingredients or directions, so none of us never really knew how to make any of the traditional Hungarian dishes!  For example, he used to make a Hungarian cookie called Kiffles.  He gave my mom the recipe for the cookies, but did not tell her until he was on his death bed, that hers always fell apart because he didn't tell her to egg wash them before baking!  My grandmother stopped making most of the Hungarian dishes after he passed away, much to my dismay!  After about 22 years of searching and asking around, my aunt was able to provide me with a fairly authentic chicken paprikash recipe!  Here is my adaptation of her recipe...

Chicken Paprikash over Egg Dumplings
Yields 3 - 4 servings


To Prepare the Chicken Paprikash
1. Heat 1/2 a stick (4 tablespoons or 1/4 cup) of butter in a large skillet over medium heat.
2. Once the butter has heated, add 1 pound of thin cut skinless, boneless chicken breasts.
3. While the chicken is browning in the butter, cut 2 small onions in half moons.
4. Flip the chicken once it has browned on the first side, and add the onions.
5. While the onions brown with the other side of the chicken, cut 2 green bell peppers into 1/4 wide strips.
6. Add the peppers to the pan and stir everything together well!
7. Cook everything over medium heat until the peppers soften a little bit.
8. Add a 14 ounce can of either chicken or vegetable broth to the pan.
9. Add 2 heaping teaspoons of paprika to the pan.
10. While everything is coming to a boil, mix 1 tablespoon of flour with 1/4 cup of water, and add it to the boiling pan.  This will help thicken the sauce!
11. Stir 1 cup of sour cream into the pan.
12. Once everything is blended well, add salt and pepper to taste. If your sauce is too spicy, add some more sour cream, milk, or cream...it will help soften the flavor! 
13. Cover the pan and let everything simmer on low heat while you prepare the dumplings!

To Prepare the Dumplings
*If you don't want to make dumplings, this serves very well over egg noodles or rice! 
1. Put a large pot of water on to boil. 
2. Add 1 1/2 cups of flour to a bowl.
3. Add 3 eggs to the bowl.
4. Add 1/2 cup of milk to the bowl.
5. Mix everything together until it becomes a batter.
 6. When the water has come to a rapid boil, use a small spoon and drop the batter into the water by the spoonful. 
7. The dumplings are done cooking when they float.  Remove them from the water by either pouring the water and dumplings through a sieve, or by scooping them out with a slotted spoon or mesh colander!

To Serve
1. Put a spoonful or two of dumplings on a plate and top it with some chicken, vegetables, and sauce!

Thursday, September 16, 2010

Ratatouille over Homemade Pasta

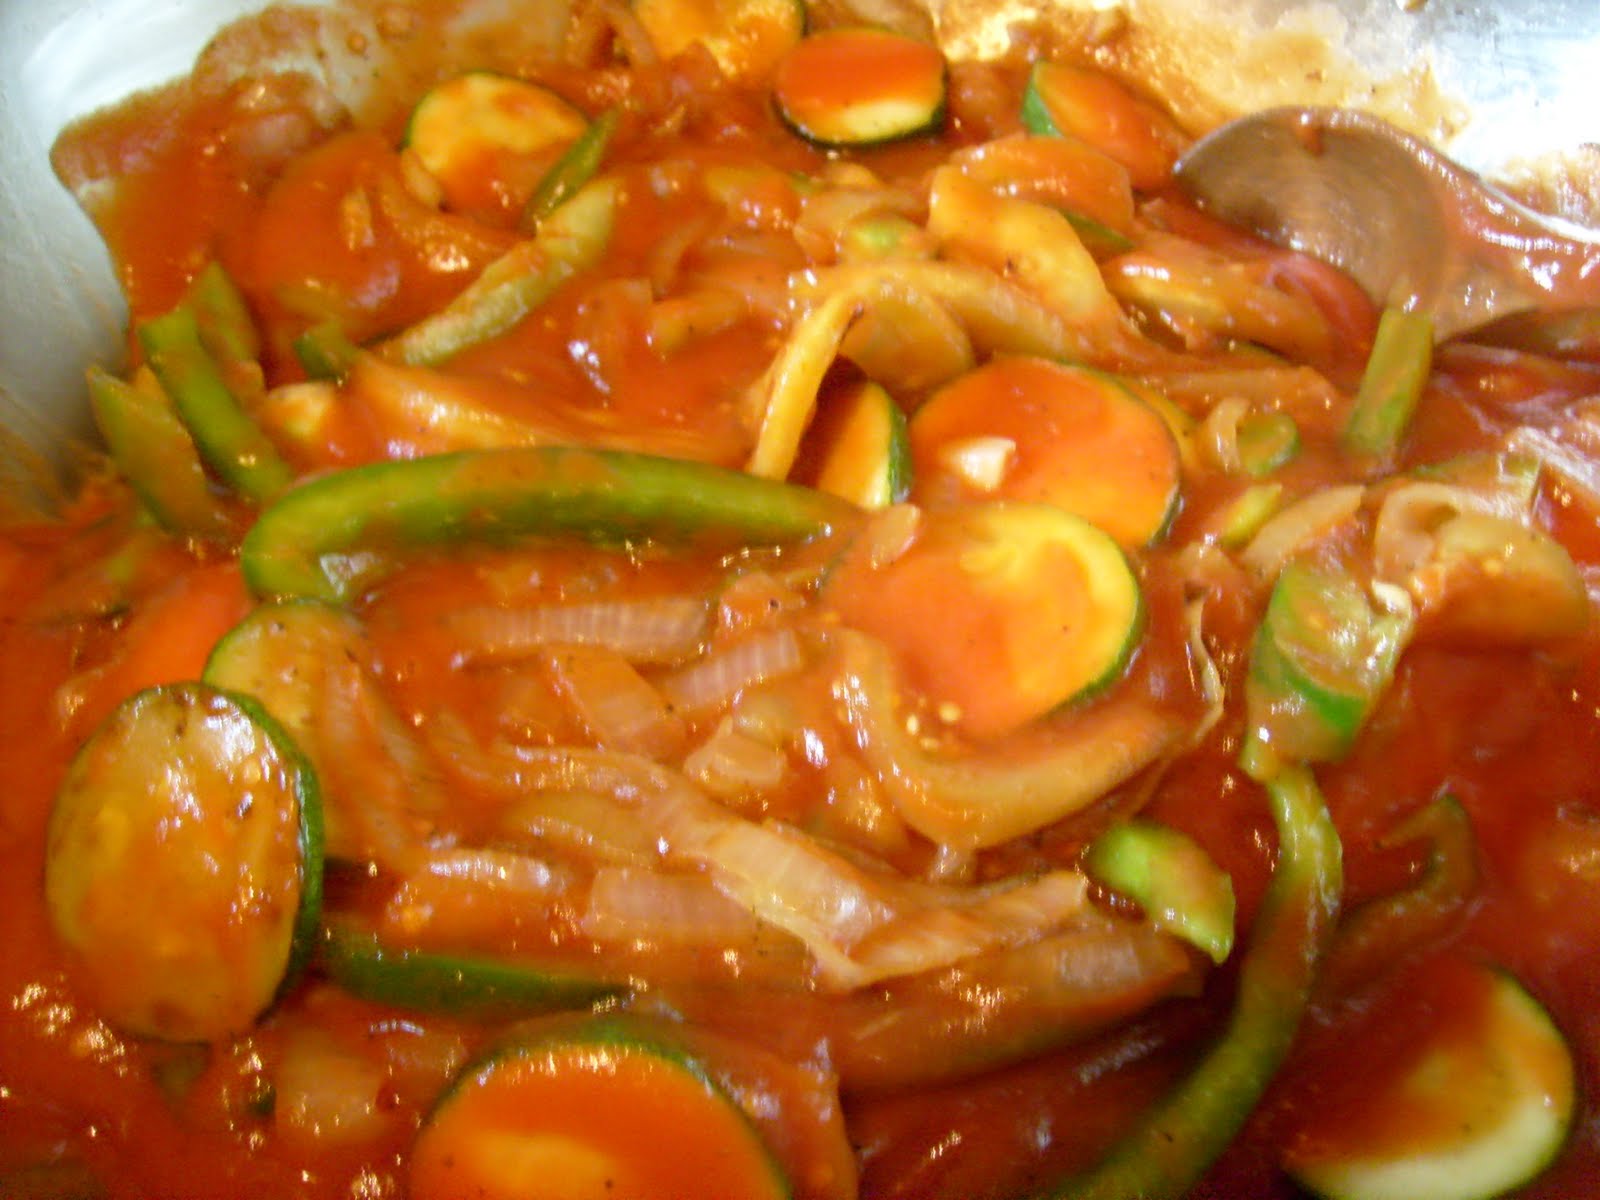
I don't mean the movie!  Ratatouille is actually a vegetable stew that finds its roots in Nice,France!  The full name of the dish is actually Ratatouille Nicoise (pronounced Knee-Swah).  The traditional dish is comprised of eggplant, zucchini, bell pepper, onion, and tomato!  Ratatouille is usually served on its own, but it can also be served over rice or pasta, with a side of bread for dipping, in a savory crepe, as a side dish, or even as an omelet filling!  Some serving suggestions even say it can be served cold.  Ratatouille is sorta like lasagna...it tastes better the next day after all of the flavors meld together...but I usually cannot wait until the next day and have to serve it immediately!  It is filling (not loaded with calories), and great on a cold day (and very cheap to make)! 

Ratatouille 
Yields 5 servings

To Prepare the Ratatouille 
1. Peel and large eggplant.  
2. Cut the eggplant length wise and then into 1/4 inch thick half moons.

3. Cut a green bell pepper into strips. 

4. Cut a zucchini into 1/4 inch thick rounds.

5. Peel an onion, cut it in half length wise, and then cut it into 1/4 inch thick half moons.

6. Heat 4 tablespoons of olive oil in a large pan over medium heat.
7. When the oil is hot, add the onions.
8. Cook the onions until they start to turn translucent and begin to brown around the edges.

9. While the onions are cooking, dice 5 cloves of onion.  If you are going to dice them by hand, you will need to take their thick skins off of them.  The easiest way to do this is to put a wide blade knife over top of the clove and pressing down on the blade with your fist.  Do this carefully so you do not end up with bloody garlic and stitches!  When you lift up the knife, the skins of the garlic will have started separating from the cloves, and can be easily peeled off in 1 or 2 pieces by hand.  If you are going to use pre-diced garlic (usually found in the produce aisle or with the Italian products at your grocery store), use 2 tablespoons.

10. Once the onions are translucent, add the garlic to the pan, as well as 1 tablespoon of salt, and 1 tablespoon of black pepper.

11. After the above mixture cooks for about 5 minutes, add the zucchini, bell pepper, and zucchini. 

12. Cook all of the ingredients down for another 5 minutes.
13. Add 28 ounces of tomato puree and stir well.  Cover and cook over medium heat.  Be sure to stir it often so it does not burn!


To Prepare the Pasta
*On a side note, if you do not own a pasta maker, you are probably better off going the route of boxed pasta.  Unless you have a lot of experience making pasta, not using a pasta maker is a very long, drawn out, and difficult process!  
1. Pour 3 cups of flour either onto a very clean surface or a bowl.  If you are going to do this on a counter or other surface, you will need to shape the flour into a bowl shape.

2. Mix 3 eggs and 2 tablespoons of olive oil into the flour.  You will need to mix it VERY well.  Use your hands to mix it...your body heat will help the dough come together.  You are going to need to put your whole body and a lot of force into making the dough.

3. Once the dough comes together, form it into a ball, coat it with some olive oil, wrap it in saran wrap, and set it aside for a little bit!

4. After 30 minutes, the dough will be ready!
5. From this point on, follow the suggested preparation directions of your pasta maker!

6. Set a large pot of water to boil.  Once the water comes to a rapid boil, add your pasta.  I was really thrown off the first time I made pasta because it actually starts to foam for a second when you put it in the water!  This is normal...don't panic!  The pasta will cook in literally just a minute or two.  Serve homemade pasta immediately! 
Related Posts Plugin for WordPress, Blogger...