I have a lot of catching up to do on the blog, and I didn't realize how bad it was until I flipped through the pictures I recently uploaded...whoops...I guess I was more distracted than I thought!
I made this the weekend after Thanksgiving with the last of the leftovers. It was pretty easy to make, and went much better than most of my broth based soup attempts! What is great about this recipe, is that you can adapt it to whatever your leftovers consist of, and most of the ingredients are probably already around your kitchen!
Turkey Soup with Stuffing Biscuits
Yields 6 servings
To Prepare the Soup
1. Wash 1 pound of carrots, and cut them down into 1/4 inch thick rounds.
2. Wash 2 pieces of celery, and cut them down into 1/4 inch thick slices.
3. Peel and dice 1 small onion.
4. Once all of your veggies are diced, begin heating 2 tablespoons of olive oil in a large pan over medium heat.
5. When the oil is hot, add all of the veggies to the pan.
6. Stir them and cook them until the onions are translucent and the celery is starting to get soft.
7. Add 4 cans of chicken broth to the pot, and keep the pan over medium heat.
8. Cut up leftover turkey or chicken. I put in a large turkey breast, and it was a good amount. You can add more or less depending on your particular tastes!
9. I then added leftover wild rice from Thanksgiving dinner. If you are going to add uncooked noodles, rice, or pasta, you might need to add extra broth to your soup as it cooks, otherwise it will quickly absorb the juice and your soup runs the risk of drying out and burning! You can also precook it and then add it in like I did.
10. Make adaptations to your liking...have leftover corn? Toss it in! Don't want to add grain? Don't! Take a look in your fridge and at your leftovers, and get creative!
To Prepare the Biscuits
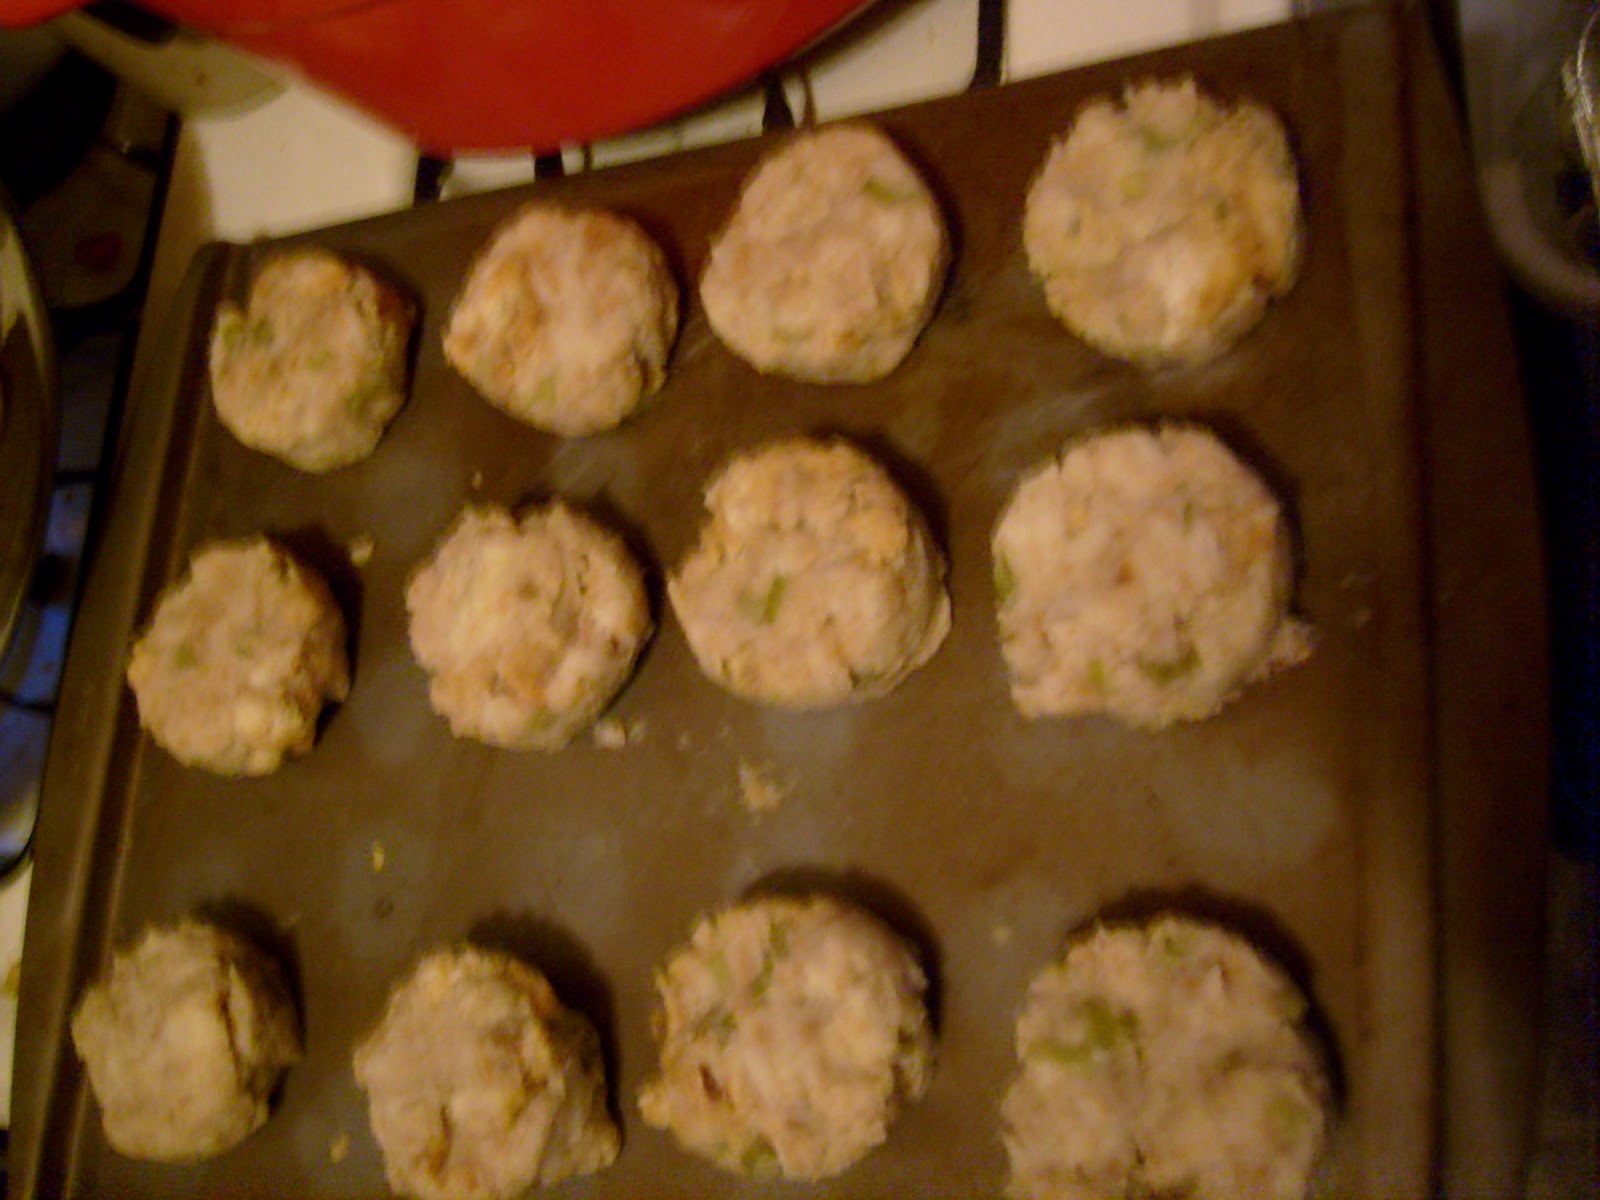
1. On top of a cookie sheet, press leftover stuffing through a round cookie cutter until it is flush with the top of the cutter.
2. Repeat this step until you are out of stuffing.
3. Bake in the oven at 350 degrees.
4. Keep an eye on them while they are cooking. When the bottoms have started to brown, flip them over and cook them until the other side has browned. Your cooking time will vary depending on your stuffing, and how moist or dry it is!
These are great for dipping in the soup too!
Showing posts with label Celery. Show all posts
Monday, December 13, 2010
Tuesday, November 9, 2010
Oven Roasted Chicken with Aromatic Vegetables
With Thanksgiving just about 2 short weeks away, my taste buds are growing impatient for all of those delicious smells and tastes of the day. With that being said, I could not resist the 59 cents per pound oven roasters at the grocery store this past weekend! I didn't want to go the whole route of stuffing though, and decided to go with aromatic veggies, especially after I saw the gorgeous carrots at the store (you'll see why in the picture below). Oven roasters are a great way to practice for Thanksgiving. Whether it is the first Thanksgiving you are cooking and are afraid of making mistakes or are nervous about the turkey process, or if you want to try some new flavors by the way of sauces, marinades, and toppings before the big day, an oven roaster makes perfect practice!
To Prepare the Vegetables
1. First be sure to clean and peel the carrots, peel the onion, and clean the celery stalks.
2. Cut a large onion into wedges. A large onion should make approximately 10 wedges.
3. Place the onions in the bottom of a very deep roasting pan (you will need aluminum foil later), or a cast iron casserole with a lid (approximately 7 quart capacity).
4. Cut approximately 2 pounds of carrots down into 1 1/2 inch to 2 inch lengths and scatter them evenly on top of the onions.
5. Cut approximately 1 pound of celery on a slight angle in 1 inch to 1 1/2 inch lengths and scatter them across the top of the onions and carrots.
To Prepare the Chicken
1. Be sure to have a sink that is clear of all dishes and that has been washed with mild soap and was thoroughly rinsed!
2. Place the ENTIRE package of chicken in the sink, and then cut it out of its wrappings. This will help keep your kitchen from being thoroughly contaminated with raw chicken juices! I will also recommend bringing your trashcan over to the sink and lifting the wrappers right out of the sink and putting them in the trash bag!
3. Check both the neck and tush areas for any baggies of giblets. Most people think that they are only packed with turkeys, but this is not always true, and you do not want the surprise of the baggie meeting you as you cut your dinner! At this point, if you do have a baggie of giblets, you can toss them if you prefer to, or you can keep them to cook up gravy, treat your pets, etc.
4. Wash the chicken clean with water both inside and out!
5. Let the chicken settle for a few minutes in the sink so the excess water can drain off, and then place it on top of the vegetables.
6. Rub the exposed areas of chicken with some olive oil (or if you prefer, butter). This will give the skin that oh so appealing crispy brown color that is so hard to resist!
7. Sprinkle the top of the chicken with a little coarse sea salt and black pepper.
8. If the baking pan you are using has a lid, put it on, or if you are using something that does not have a lid, make a foil tent over the entire pan!
9. Bake everything until the button pops, being sure to baste along the way if you pan is not self basting(see below)! It took about 2 1/2 hours for mine to cook all of the way, but keep in mind that it was not stuffed! You may need a little longer if you decide to stuff yours!
A Few Tips/Suggestions/Fun Facts
1. I'd like to take a minute to talk about self-basting casserole pans! I splurged last year on a Martha Stewart Enamel Cast Iron Oval Casserole during last year's after Christmas sales (You can thank me for the shameless plug later, Martha hehe). Only after getting home and opening the box to inspect my new toy, did I notice the nodules, or as I like to call them, cooking stalactites! These nodules actually collect moisture from the lid as your meal cooks and drips it down back onto the food slowly. What does this mean, you may ask? To me it means not trying to remove a pan from the oven or have it teeter on the edge of the rack, open it while wearing an oven mitt, trying to maneuver a baster in the oven while trying not to burn your wrists and forearms, no more cursing with half your body in the oven, etc!
2. If you don't want to layer the veggies, or don't have the space in your baking dish for that kind of height, you can stuff the chicken with them! You get the same delicious flavors with both the chicken and vegetables!
3. In place of using Butter/olive oil and salt and pepper, you could use a seasoned or herbal butter to add some real big flavor punches to the finished dish! You can also sprinkle some poultry seasoning on top of the butter/olive oil. Some other great options are: put sprigs of fresh herbs between the skin and meat for a delicious feast for your belly and your eyes, Inject the meat with juice or herb marinade, or top it with a chutney an hour before pulling it out of the oven. One of my favorite Thanksgiving chutneys is as simple as heating up some cranberry sauce with a splash of OJ!
4. Do you know that a group of chickens are called a Peep? I bet the name of that marshmallow Easter treat makes a whole lot more sense now!
5. If you are going for presentation, make sure the breast side of the chicken is facing up, but if you are looking for super moist meat, cook the chicken with the breast side down! I made this mistake once, and the meat was amazing. Let's just say that when I do this now a days, it is by choice, not ignorance hehe!
6. When I make a dinner this large, I like to use a crudites (vegetable) tray to store the left overs! It keeps everything nice and neat, and you don't have to dig in the fridge for 4 or 5 bowls!
To Prepare the Vegetables
1. First be sure to clean and peel the carrots, peel the onion, and clean the celery stalks.
2. Cut a large onion into wedges. A large onion should make approximately 10 wedges.
3. Place the onions in the bottom of a very deep roasting pan (you will need aluminum foil later), or a cast iron casserole with a lid (approximately 7 quart capacity).
4. Cut approximately 2 pounds of carrots down into 1 1/2 inch to 2 inch lengths and scatter them evenly on top of the onions.
| Found these beautiful bundles of carrots at the grocery store...just one of those simple little things that leaves me grinning the in kitchen for hours on end! |
To Prepare the Chicken
1. Be sure to have a sink that is clear of all dishes and that has been washed with mild soap and was thoroughly rinsed!
2. Place the ENTIRE package of chicken in the sink, and then cut it out of its wrappings. This will help keep your kitchen from being thoroughly contaminated with raw chicken juices! I will also recommend bringing your trashcan over to the sink and lifting the wrappers right out of the sink and putting them in the trash bag!
3. Check both the neck and tush areas for any baggies of giblets. Most people think that they are only packed with turkeys, but this is not always true, and you do not want the surprise of the baggie meeting you as you cut your dinner! At this point, if you do have a baggie of giblets, you can toss them if you prefer to, or you can keep them to cook up gravy, treat your pets, etc.
4. Wash the chicken clean with water both inside and out!
5. Let the chicken settle for a few minutes in the sink so the excess water can drain off, and then place it on top of the vegetables.
6. Rub the exposed areas of chicken with some olive oil (or if you prefer, butter). This will give the skin that oh so appealing crispy brown color that is so hard to resist!
7. Sprinkle the top of the chicken with a little coarse sea salt and black pepper.
8. If the baking pan you are using has a lid, put it on, or if you are using something that does not have a lid, make a foil tent over the entire pan!
9. Bake everything until the button pops, being sure to baste along the way if you pan is not self basting(see below)! It took about 2 1/2 hours for mine to cook all of the way, but keep in mind that it was not stuffed! You may need a little longer if you decide to stuff yours!
| So delicious!!! |
A Few Tips/Suggestions/Fun Facts
1. I'd like to take a minute to talk about self-basting casserole pans! I splurged last year on a Martha Stewart Enamel Cast Iron Oval Casserole during last year's after Christmas sales (You can thank me for the shameless plug later, Martha hehe). Only after getting home and opening the box to inspect my new toy, did I notice the nodules, or as I like to call them, cooking stalactites! These nodules actually collect moisture from the lid as your meal cooks and drips it down back onto the food slowly. What does this mean, you may ask? To me it means not trying to remove a pan from the oven or have it teeter on the edge of the rack, open it while wearing an oven mitt, trying to maneuver a baster in the oven while trying not to burn your wrists and forearms, no more cursing with half your body in the oven, etc!
| Some pretty sweet enamel-wear stalactites hehe! |
3. In place of using Butter/olive oil and salt and pepper, you could use a seasoned or herbal butter to add some real big flavor punches to the finished dish! You can also sprinkle some poultry seasoning on top of the butter/olive oil. Some other great options are: put sprigs of fresh herbs between the skin and meat for a delicious feast for your belly and your eyes, Inject the meat with juice or herb marinade, or top it with a chutney an hour before pulling it out of the oven. One of my favorite Thanksgiving chutneys is as simple as heating up some cranberry sauce with a splash of OJ!
4. Do you know that a group of chickens are called a Peep? I bet the name of that marshmallow Easter treat makes a whole lot more sense now!
5. If you are going for presentation, make sure the breast side of the chicken is facing up, but if you are looking for super moist meat, cook the chicken with the breast side down! I made this mistake once, and the meat was amazing. Let's just say that when I do this now a days, it is by choice, not ignorance hehe!
6. When I make a dinner this large, I like to use a crudites (vegetable) tray to store the left overs! It keeps everything nice and neat, and you don't have to dig in the fridge for 4 or 5 bowls!
| Working clockwise from 12 o'clock: Gravy, Fresh Cut Corn Kernels, Roasted Chicken, Aromatic Veggies, and Mashed Potatoes. |
Labels:
Aromatic,
Carrots,
Celery,
Chicken,
Meat,
Onions,
Roaster,
Thanksgiving,
Vegetables
Subscribe to:
Posts (Atom)